| |
| How it works: |
| |
A. |
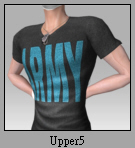
Create an upper clothing. |
| |
B. |
Create the lower clothing and shoes. |
| |
C. |
Save the finished product in multiple file formats. |
|
| |
| A. Create an upper clothing. |
| |
A-1. |
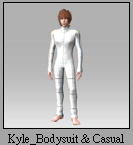
Apply a G3 CloneCloth New Look Character Base. (eg. Kyle_Bodysuit & Casual) |
| |
|
 |
| |
|
|
| |
A-2. |
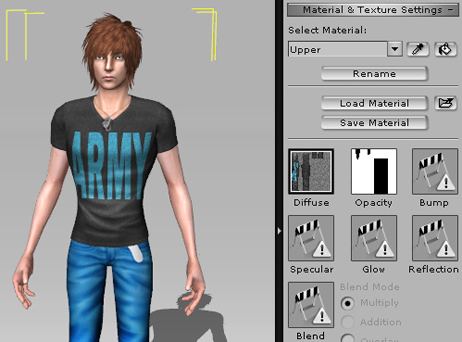
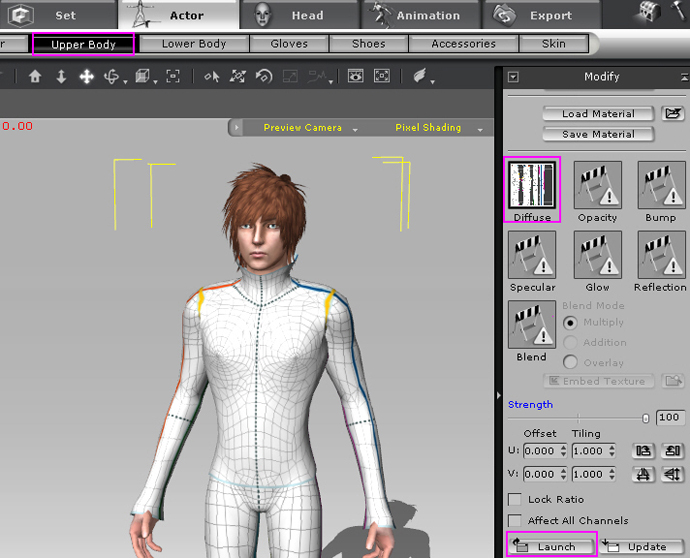
Select Diffuse Channel and press Launch in Actor/Upper Body, and edit the Diffuse texture in 2D software. (eg. Photoshop.) |
| |
|
 |
| |
|
|
| |
A-3. |
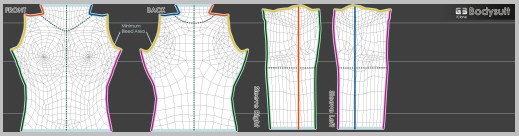
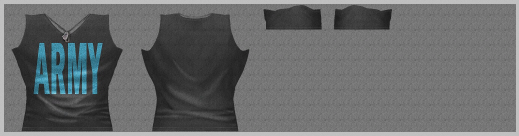
According your design, model your clothing. You can backup your working file first, and save the .jpg anywhere in your computer. |
| |
|
 |
| |
|
|
| |
|
 |
| |
|
|
| |
A-4 |
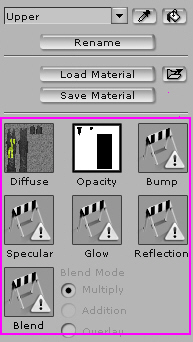
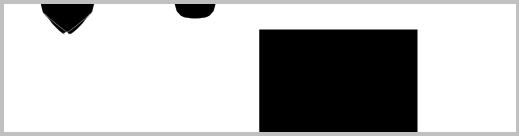
At the same time, you can prepare Opacity, Bump, Specular, Glow and Reflection jpg files if you want. |
| |
|
Opacity Map: |
| |
|
 |
| |
|
If you want to get more information about the other types of maps, please click here. |
| |
|
|
| |
A-5 |
Double click on Diffuse or other channels to import the edited jpg files. |
| |
|
|
|
| |
| B. Make Material Maps for Lower body and Shoes. |
| |
B-1. |
Please follow the procedures above to make Lower body and Shoes in Actor/Lower Body (Shoes). |
|
| |
| C. Save the finished product in multiple file formats so you can apply them directly later. |
| |
C-1. |
Select the Character, and click Add in Actor/Upper Body/Content Manager. |
| |
|
|
| |
C-2. |
Follow the step above and click Add in Actor/Lower Body (Shoes)/Content Manager to add new Lower Body (Shoes). |
|
| |