
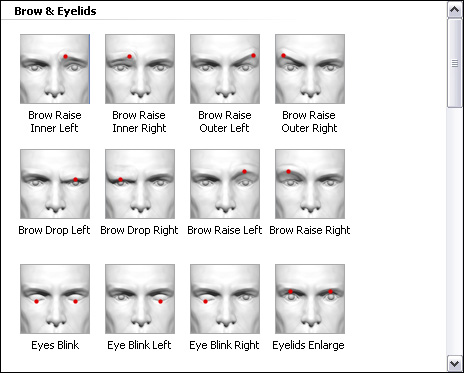
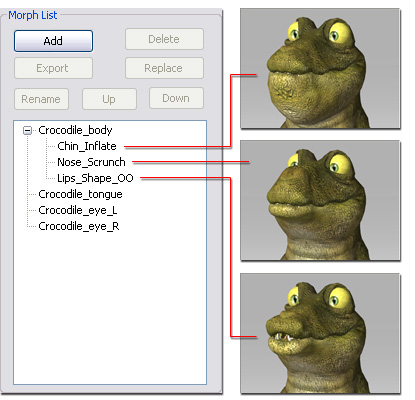
In the Muscle tab of the Expression Editor, you are able to create
detailed expressions via the facial muscles by setting the transformation limits of the facial bones or the blend shape values. After the settings,
you may use the facial Puppeteering Panel or Face Key Editor to
create more detailed expressions in iClone.
|
Note: |
|

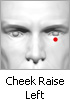
This method is suitable for the character with designated,
well-skinned and detailed facial bones. (in this case,
the thumbnail, Cheek Raise Left, is taken as an example).
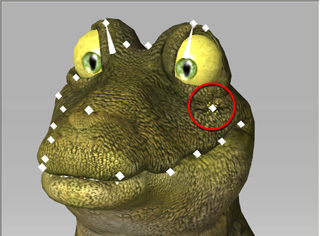
 or Move Object
  tools.
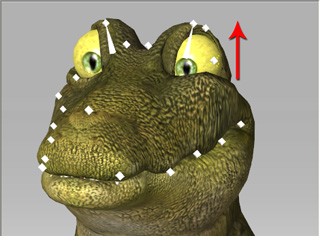
If your character does not have enough facial bones to control all
the facial muscles, or when you want to create more exaggerated
facial muscle movements, then you may use the
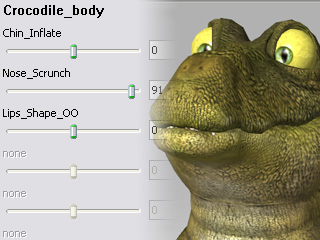
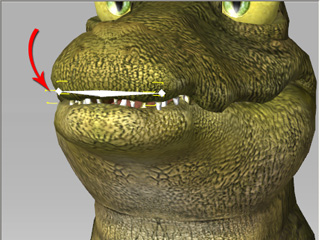
morphing method (in this case, the thumbnail, Nose Scrunch, is taken as an example).

|
|
|
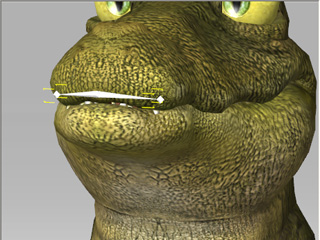
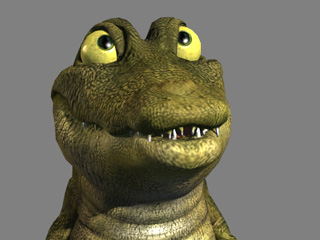
Initial facial expression. |
The morphing method adjusts parts of the mesh that aren't accessible to any facial bones. |
If you want to mix up the bone-based and morph-based settings, in order to
create more sophisticated or dramatic movements of the facial
muscles, then you may use
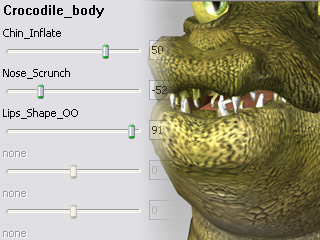
the bone-morph-based method (in this case,
the thumbnail, Lips Puckered, is taken as an example).


|
|
|
Initial facial expression. |
Morph the lips to form the correct shape. |
|
Note: |
|
|
|
|
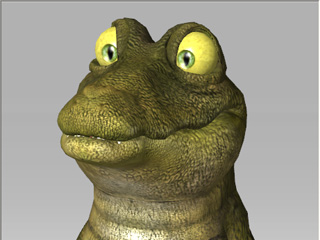
The character can have various facial expressions created by facical muscles. |
|