| |
How it works: |
| |
| A. |
Convert the material files & prop files into texture files. |
| B. |
Edit and Merge those texture in photo editing program (i.e. Photoshop). |
| C. |
Update the texture files back into prop files. |
|
| |
| For more details, please follow the step-by-step instructions below. |
|
 |
A. |
Convert the material files & prop files into texture files |
| |
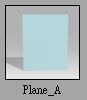
| 1. |
Click the Set tab and load a 3D object into the viewer (i.e. Plane_A), Use a plane prop to see the texture easier. |
|
| |
|
| |
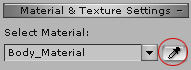
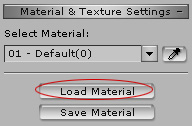
| 2. |
Choose Plane_A. Click Load Material to Load Material from your Material Library, and make sure which textures that you want to use. |
|
| |
 |
| |
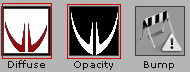
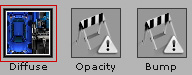
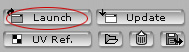
| 3. |
Select on Diffuse and Opacity Channels and Click the Launch button to load the texture into your Photo Editing Program (i.e. Photoshop). |
|
| |
|
| |
|
|
C. |
Edit and Merge those texture in photo editing program |
|
(EX. Photoshop). |
|
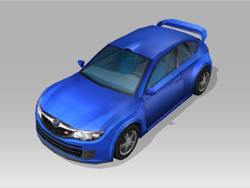
| 1. |
Load the car, and execute the Pick Material function to get the part of the car that you want to edit (i.e. the hood). |
|
| |
| |
| |
| Select the Diffuse Channel and Click the Launch button to load the texture into your Photo Editing Program (i.e. Photoshop). |
| |
|
| |
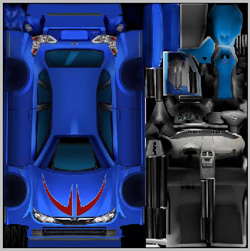
| 2. |
Combine these textures in your Photo Editing Program (i.e. Photoshop). |
|
| |
|
|
C. |
Update the texture files back into prop files |
| |
| 1. |
After you finish with Photo Editing save your file and return to your iClone Program. |
|
| |
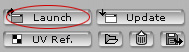
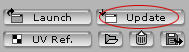
| 2. |
Click the Update button to Update the texture that you just created. |
|
| |
 |
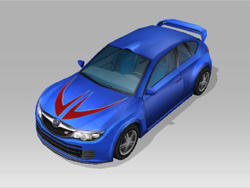
| |
| You can now see the new look of your car! |
| |
|
| |
D. |
Get more Custom Decal texture |
| |
|
| |