 Home > FaceFilter3
FaceFilter3
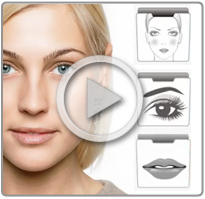 FaceFilter3 is a versatile photo retouching and beautifying toolkit that allows you to reveal the true beauty of your photos. Utilize natural skin smoothing and blemish removal tools along with a comprehensive multi-layer makeup system complete with hundreds of templates for one-click application, not to mention morphing tools and DSLR post-effects.