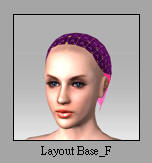
Choose the hair element that you need based on the hair style that you want and attach it to the Layout Base.
|
| B-1 |
Use Scalp Base |
| |
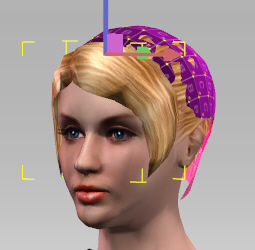
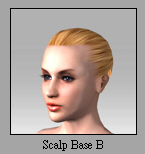
Load any Scalp Base (Ex. Scalp Base B) based on the hair style that you want. |
| |
 |
| |
Right click on it and attach it to the Layout Base. |
| |
|
| |
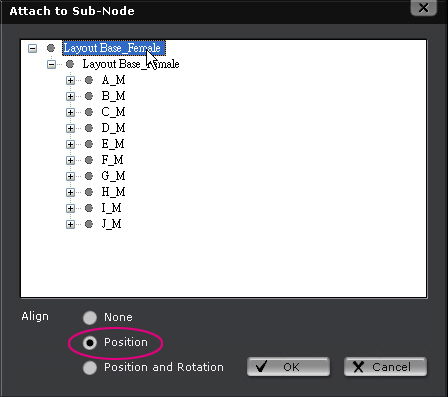
Open the Modify/Attach/Attach to Sub-Node window. |
| |
 |
| |
Choose the uppermost layer, check Align Position.and click OK. |
| |
|
| |
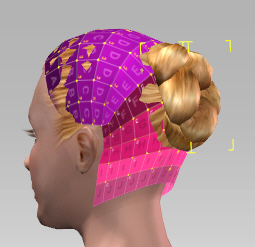
Scalp Base will now align with Layout Base |
| |
|
| |
Tip. It is normal that other hair elements penetrate the Layout Base. Layout Base will not be rendered. Pressing Ctrl+D will switch the display status of Layout Base to make it show or disappear, so it's easy to the hair style that you just made. |
| B-2 |
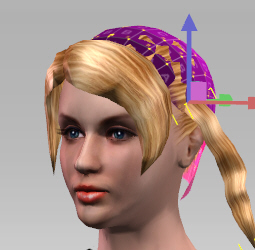
Attach Fringe. |
| |
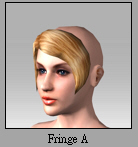
Load any Fringe (Ex. Fringe A) based on the hair style that you want. |
| |
 |
| |
Attach the fringe to the Layout Base. Open Modify/Attach/Attach to Sub-Node window. Choose the coordinate that you want (ex. A_M), check Align Position, and click OK. |
| |
Adjust it so it goes to the correct location. |
| |
|
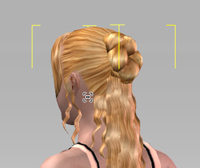
| B-3 |
Attach Hair Bun |
| |
Repeat the attach action in B-2, and adjust the position and angle. |
| |
|
| B-4 |
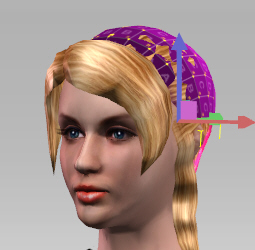
Attach Hair Segment. |
| |
Repeat the attach action in B-2. Open Modify/Attach/Attach to Sub-Node window. Choose the coordinate that you want (ex. A_M), check Align Position, and click OK. |
| |
Adjust the location and angle. |
| |
|
| |
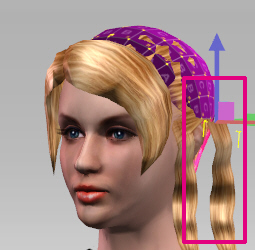
Hold down the Ctrl key, and then Move the Hair Segment. Upon the release of the Mouse key, the segment will be duplicated. |
| |
|
| |
Open the Attach to Sub-Node window again. Choose the location that you want the hair element to align, and decide whether to Align Rotation. |
| B-5 |
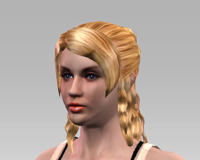
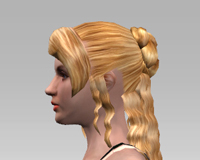
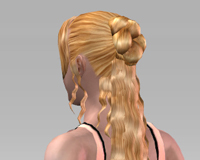
Repeat copy and align until you finish your hairstyle. |
| |
|
| |
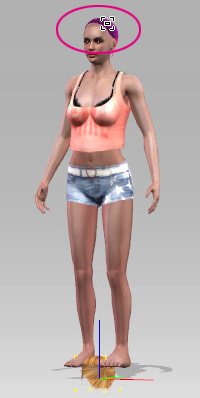
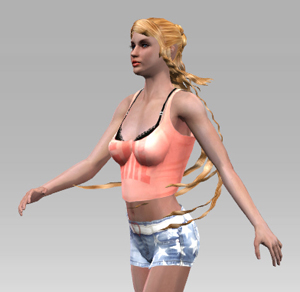
C.Attach Layout Base to the character. |
|
| C-1 |
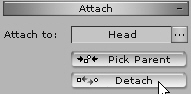
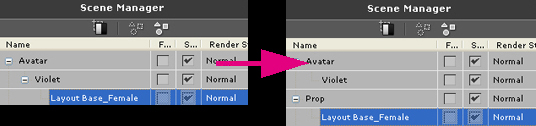
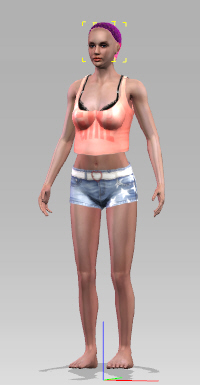
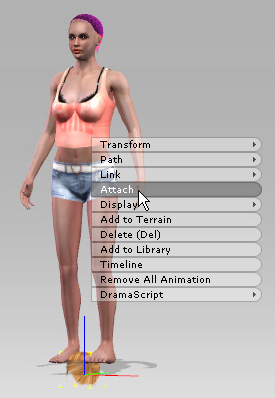
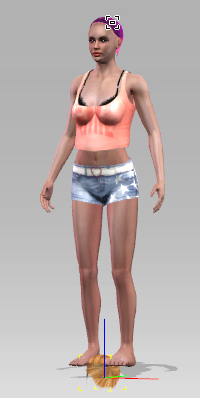
Choose Layout Base from the Scene Manager, and attach it to the head of the character to make it an accessory. |
| |
 |
| |
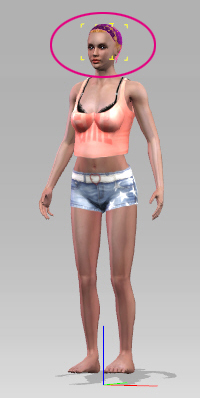
Apply a motion to the character, and you will see hair floating with the character. |
| |
 |
| |
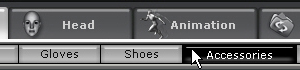
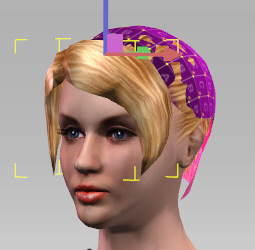
This pack also provides completed Hairstyles for users to use. Please load them from Accessories. Go to Transform and make appropriate adjustments based on the character that you choose. |