|
C-1. |
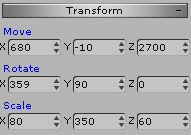
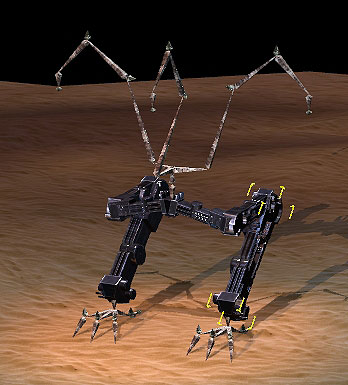
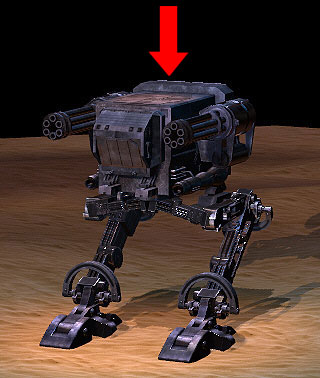
Attach the props which were just placed to the appropriate location to the Body of the Creature Base. |
| |
 |
| |
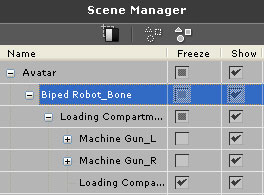
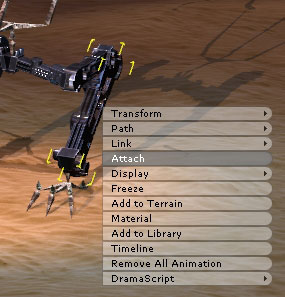
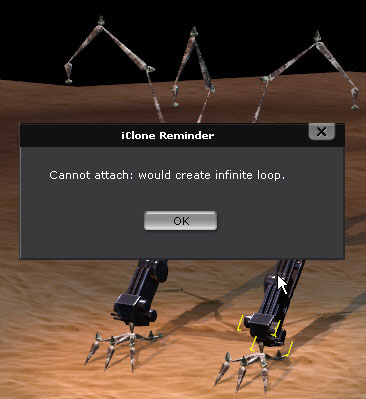
Tip. If a prop is too big, it may block the bone causing it hard to choose the bone when trying to attach. |
| |
 |
|
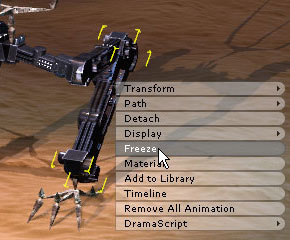
Please choose the prop and execute the Freeze command. Try attach again, and it should work fine now. |
| |
|
| |
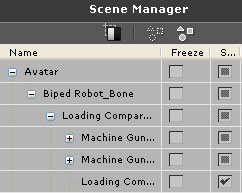
After all the props are attached to the bone, go to Scene manager and unfreeze all the props to make sure that they can be relocated later. |
| |
|
|
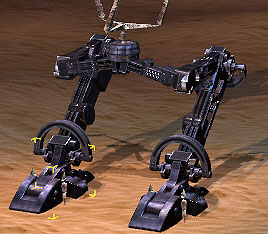
C-2. |
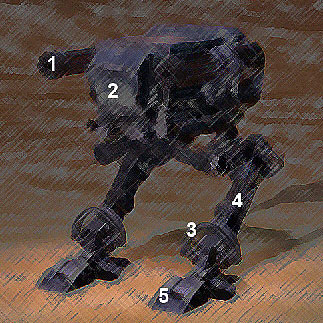
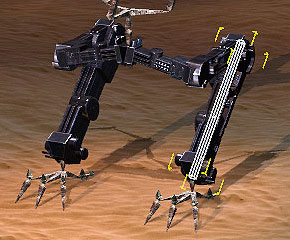
Attach the props which were just placed to the appropriate location to the Body of the Creature Base. |
| |
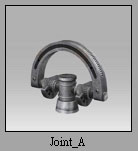
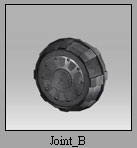
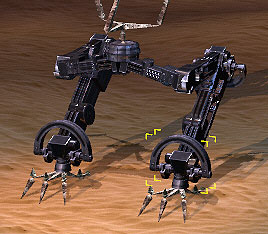
| Attached the Joints. |
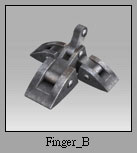
Attached the Fingers |
 |
 |
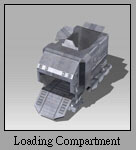
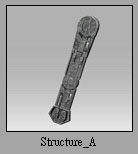
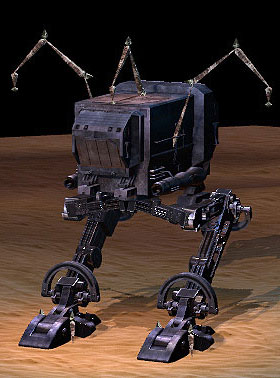
| Attached the Compartment. |
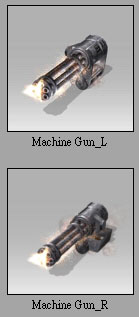
Attached the Guns |
 |
 |
|
|
C-3. |
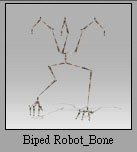
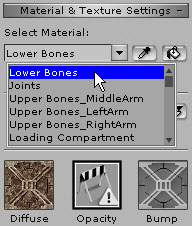
Hide the Creature Base Bone.
Choose the character, and go to Actor/Skin/Material&Texture Setting. Hide the material of each part. |
| |
|
| |
Tip. If you want to fine tune the attached props, you can easily do so by clicking on the Select tool. |
| |
 |