Setting Jaw Movement Data (New for 5.4)

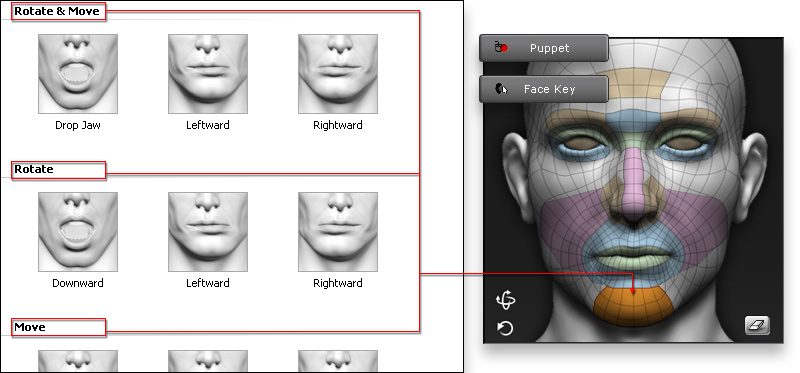
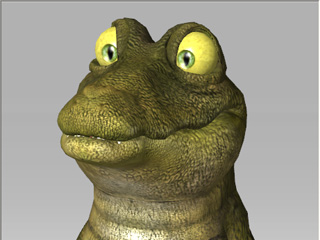
In the Jaw tab of the Expression Editor, you are able to set not only the transformation limits of the jaw bones, but also the morph strengths. After defining these parameters for your character, it can have jaw movement and even face morphing capabilities in iClone.

  1. Make sure the jaw bone have been correctly mapped during the characterization procedure.
  2. Click the Expression Editor in the Face Setup section and switch to the Jaw tab.
  3. Click on one of the thumbnails in the list.
  4. By default, both jaw bones will be automatically selected. If not so, then manually select the jaw bone.
  5. Setting the transformation limits of the bone and the morphing strengths for the thumbnail.

    Bone-based Settings

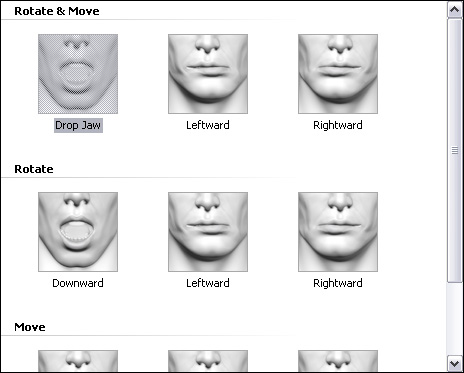
    Follow the steps below to set the transformation limits of the jaw bone.
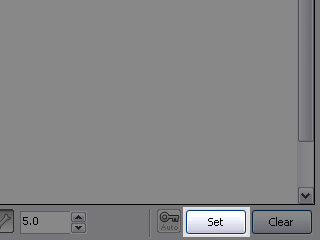
    1. Switch to the Rotate Object button.
    2. Rotate the jaw bone to the desired limit according to the position on the thumbnail image.
    3. If you want to dramatize the jaw open effect, then use the Move Object 
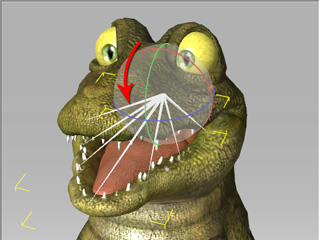
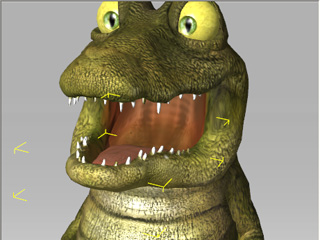
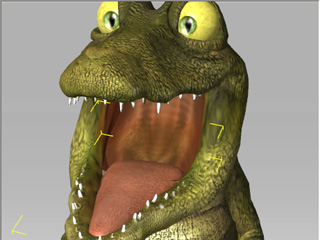
tool to lower the jaw bone more.
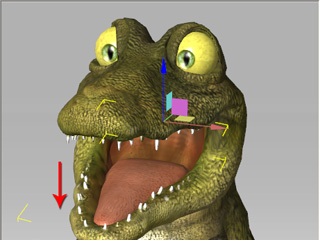
      Note:

      • The thumbnail in the Rotate & Move section controls the position and the angle of the jaw bone. Its data equals to the combination of data from the thumbnails in the Rotate and the Move sections.
      • If you are setting one of the thumbnails in the Rotate or Move sections, then you may press the "Alt + Shift + \" key to preview the combination result of rotating and moving for the jaw.

        Setting the thumbnail in the Move section to lower the jaw.

        Press the "Alt + Shift + \" key to temporarily preview the moving and rotating result for the jaw bone.

    Morph-Based Settings

    If you want to create a jaw-lowering expression via the blend shape method, then follow the steps below.

    1. Make sure that you have prepared and loaded the blend shapes for the character's face into the Morph List.
    2. After step 3 shown above, one of the thumbnails for the jaw setting is selected.
    3. Adjust the blend shape strength values by dragging the sliders on the right side of the Expression Editor. In this case, the expression that the jaw is opening with curling tongue is desired.

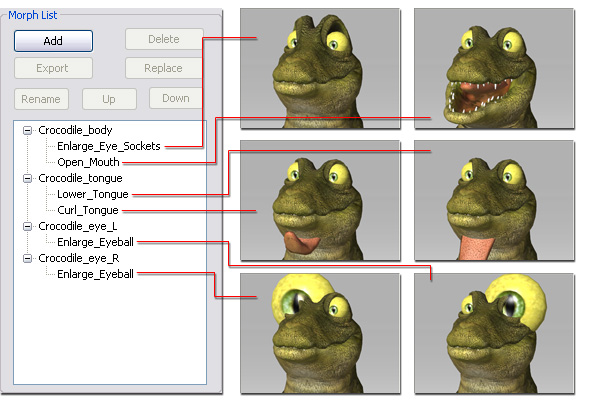
      Initial expression for the morph.

      The combination of different values of the blend shape sliders.

    Bone-Morph-Based Settings

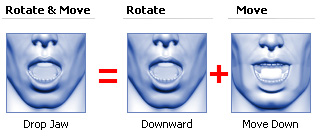
    If you want to combine bone-based and morph-based facial pose values, then follow the steps below.

    1. After step 3 shown above, one of the thumbnails for the jaw setting is selected.
    2. Use the Move Object and Rotate Object tool to roughly set the transformation limits of the jaw bone.
    3. Adjust the blend shape values by dragging the sliders on the right side to add more detailed morphing expressions (in this case, the curled tongue and enlarged eyes are added).

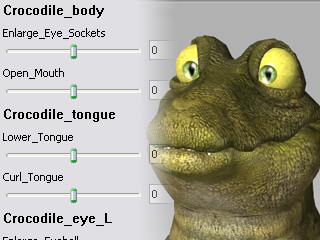
      Initial statuses for the morphing.

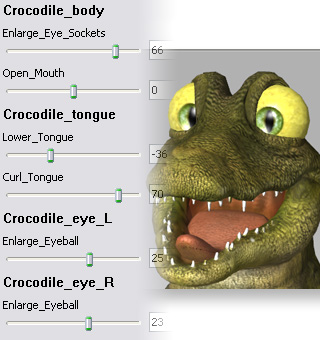
      The combination by different values of the morphing sliders.

  6. Click the Set button to save the bone transformation and blend shape data into the thumbnail.

    Note:

    • You must click the Set button to keep the desired result, otherwise the data kept in the thumbnail will not be updated.
    • You may click the Auto button to automatically update the data after each adjustment you make.
  7. Repeat the steps until all the thumbnails in this page have been given adequate transformation limits and/or blend shape data.
  8. After exporting the character to iClone its jaw can be animated via the Facial Puppeteering and Face Key panels.

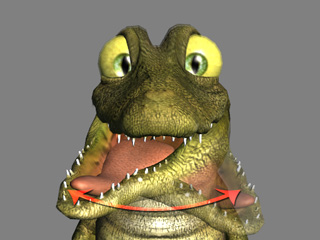
    Bone-morph-based jaw animation.