Setting Eyelid Bones for Blinks (New for 5.4)
In iClone, non-standard characters you can control character eye blinking in the facial puppet tool directly, or set auto-blink on. By mapping the eyelid bones of the eyes, the auto-blinking feature in
iClone will trigger the eyelids to blink in a specific pattern.
Mapping Eyelid Bones
If the character contains only the upper eyelid bones, then you may do the basic mapping for the eyelid bones.
-
Make sure that you are in the
characterization procedure
and the Active box is enabled.
-
Switch to the
Face / Extend Mapping page by clicking the button with a head icon
above the dummy pane.

The modify panel will switch to the Face / Extended Bone mapping mode.
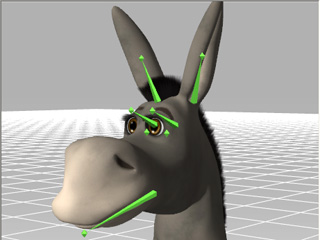
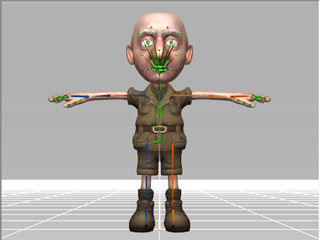
Please note that the child bones under the head bone will be
automatically put under the Face node and marked in light green.
-
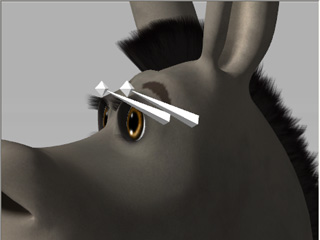
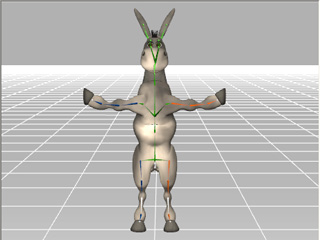
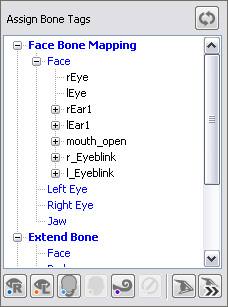
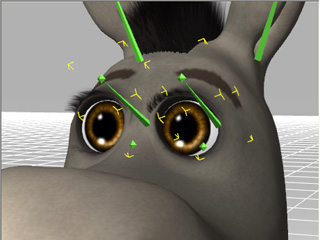
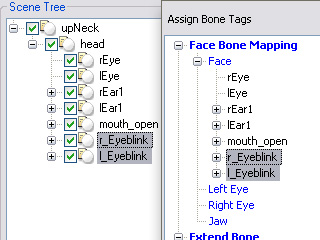
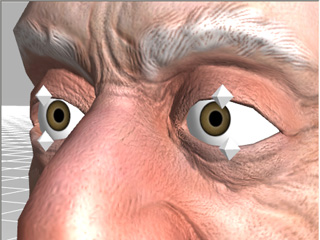
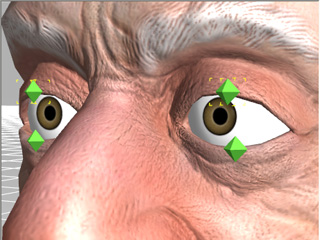
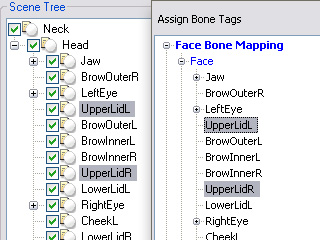
Select the eyelid bones from the Scene Tree, 3D Viewer or the
Bone List under the Assign Bone Tags.
|
|
|
Select from the 3D viewer.
|
Select from the scene tree or the bone list.
|
|
Note:
|
-
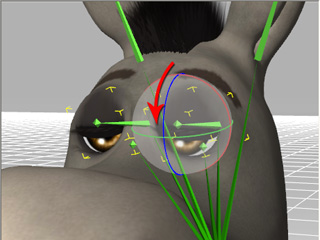
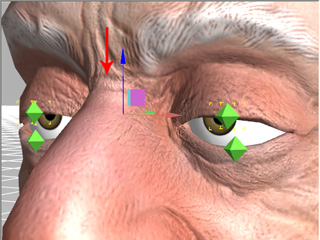
Switch to the Move or Rotate tool to transform the
bone to check if the selected bone is the correct one.
|
-
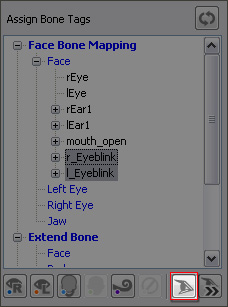
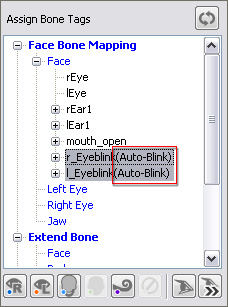
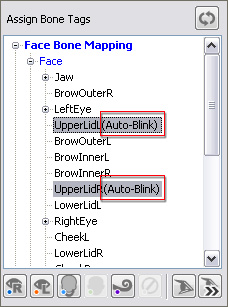
Click the Set Upper Eyelid for Auto-Blink button in order to set the selected bones
as the upper eyelid bones.
|
|
|
Click the Set Upper Eyelid for Auto-Blink button.
|
The names of the selected bone nodes will be suffixed with strings, "(Auto-Blink)".
|
|
Note:
|
-
If you find the mapping is incorrect, then click the
Set Upper Eyelid for Auto-Blink
 button
again to reset the bone. button
again to reset the bone.
|
-
Click the Convert button to leave the Convert to Non-standard
mode. The settings will be recorded into the character.
Pairing up the Upper and Lower Eyelid Bones
If your character contains one or more pairs of upper and lower eyelid bones, then you may
pair them up via the Auto-blink Settings panel.
-
Make sure that you are in the
characterization procedure
and the Active box is enabled.
-
Switch to the
Face / Extend Mapping page by clicking the button with a head icon
above the dummy pane.
The modify panel will switch to the Face / Extended Bone mapping mode.
-
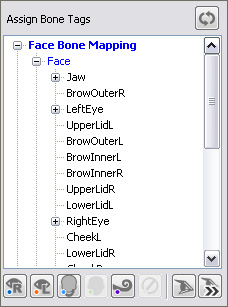
Select the upper eyelid bones from the Scene Tree, 3D Viewer or the
Bone List under the Assign Bone Tags.
|
|
|
Select from the 3D viewer.
|
Select from the scene tree or the bone list.
|
|
Note:
|
-
Switch to the Move or Rotate tool to transform the
bone to check if the selected bone is the correct one.
|
-
Click the Set Upper Eyelid for Auto-Blink button in order to set the selected bones
as the upper eyelid bones.
|
|
The names of the selected bone nodes will be suffixed with strings, "(Auto-Blink)".
|
|
Note:
|
-
If you find the mapping is incorrect, then click the
Set Upper Eyelid for Auto-Blink
button
again to reset the bone.
|
-
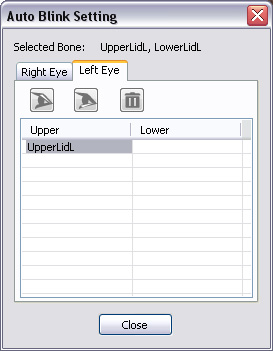
Click the Auto-Blink Setting button to show the panel for pairing
the upper and lower eyelid bones.
|
-
 : Click this button to set
the bones that are selected in the Scene Tree or the Assign Bone Tags
list as the Upper Eyelid Bones. The set bones will be listed under the
Upper column of the current tab of the eyes. : Click this button to set
the bones that are selected in the Scene Tree or the Assign Bone Tags
list as the Upper Eyelid Bones. The set bones will be listed under the
Upper column of the current tab of the eyes.
-
 : Click this button to set
the bone that is selected in the Scene Tree or the Assign Bone Tags
list as the Lower Eyelid Bones. The set bone will be listed under the
Lower column of the current tab of the eyes. : Click this button to set
the bone that is selected in the Scene Tree or the Assign Bone Tags
list as the Lower Eyelid Bones. The set bone will be listed under the
Lower column of the current tab of the eyes.
-
 : Click this button
to delete the selected items in the Auto Blink Setting panel. : Click this button
to delete the selected items in the Auto Blink Setting panel.
|
-
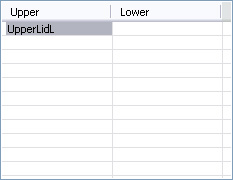
Select one of the upper eyelid bones that is listed in the Upper column in the
panel.
-
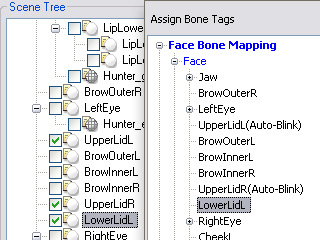
Select the lower eyelid bone in the Scene Tree or the Assign Bone Tags list that
is needed to be paired up with the selected one in the Auto Blink Settings panel.
-
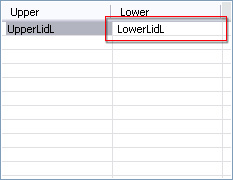
Click the Set Lower Eyelid button in the Auto Blink Settings panel.
These two bones will be paired up, which causes the upper eyelid bone to move down
to the position of the lower eyelid bone when the character blinks.
-
Switch to the other eye tab and repeat step 6 to step 8 to pair up the
upper and lower eyelid bones for the other eye.
-
Click the Convert button to leave the Convert to Non-standard
mode. The settings will be recorded into the character.