Adapting iClone Characters for Maya Human IK
If you want to use iClone standard or non-standard characters in Maya with the Human IK
feature in order to do key-frame animations, you need to export the character from 3DXchange in FBX
format and then characterize the exported character FBX in Maya.
With this method, you do not need to spend too much time on setting IK control manually,
but utilize the Human IK feature provided in Maya instead.
Please note that this pipeline is suitable for Maya 2013 or above.
Step 1: Exporting a Standard Character from 3DXchange
-
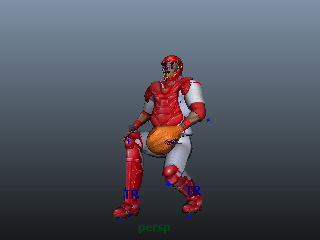
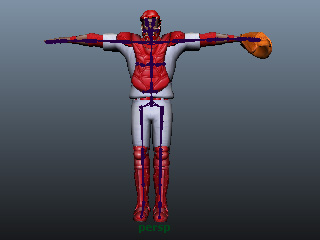
Load a standard or non-standard character into 3DXChange.
-
Execute the File > Export to Other 3D Format >
Export FBX...command.
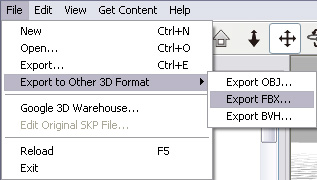
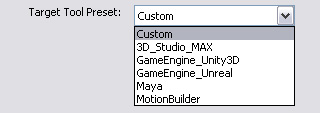
-
In the Export FBX panel, use the Target Tool Preset
drop-down list to auto-load the settings for Maya.
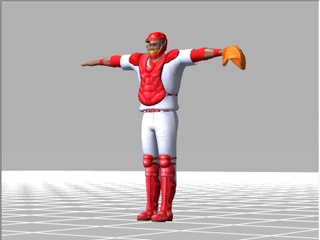
Remember to deactivate the Include Animation check box for exporting the
bone-skinned model only with T-pose.
Please refer to The Settings for Exporting an FBX File
section for more information about the details of the settings.
-
Click the OK button to export the model in FBX format.
Before loading the character into Maya, please make sure you have downloaded and extracted the
iClone_G5_Std_Character_Template file (.xml) into the following folder:
-
Windows XP: C:\Documents and Settings\[user account]\Application Data\Autodesk\HIKCharacterizationTool4\template\
-
Windows 7 or above: C:\Users\[user account]\AppData\Roaming\Autodesk\HIKCharacterizationTool4\template\
-
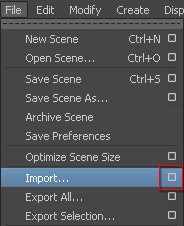
Click the box besides the File >> Import... command in Maya.
-
The Import Options panel will come up.
-
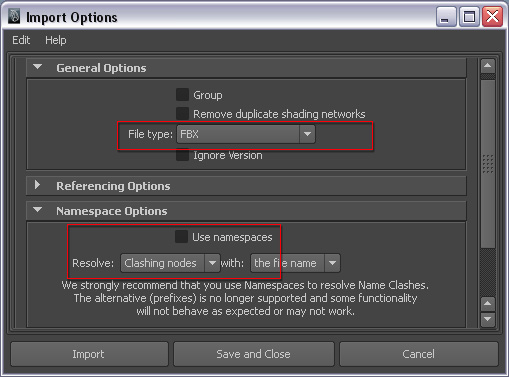
Select FBX from the File Type
drop-down list.
-
Deactivate the Use namespaces box and select Clashing nodes from
the Resolve drop-down list.
-
Click the Import button and the Import panel shows.
-
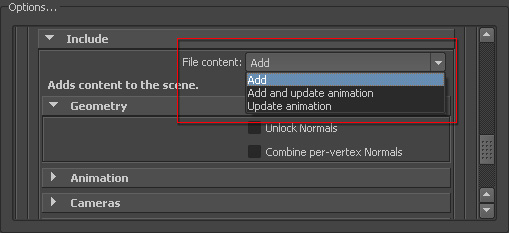
Select Add from the File Content drop-down list.
-
Click the Import button to import the bone-skinned character.
-
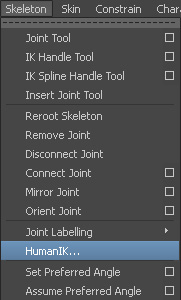
Execute Skeleton >> Human IK... command.
-
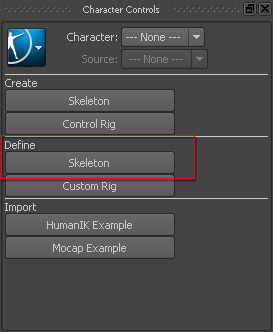
In the Character Controls pane at the right side of the program window, click the
Skeleton button in the Define section to show the bone-mapping
pane.
-
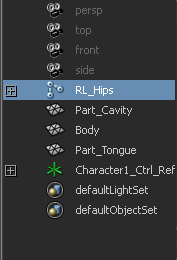
Select the RL_Hips of the character in the Outliner.
-
Click the blue button on the Character Control pane, select Edit
>> Definition >> Load Skeleton Definition.

-
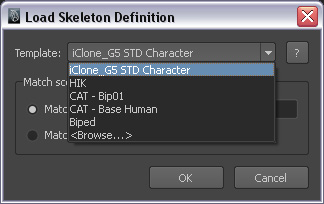
Select the iClone_G5 STD Character template from the Template
drop-down list in the Load Skeleton Definition panel.
-
Click the OK button. The bone-mapping is auto-finished.
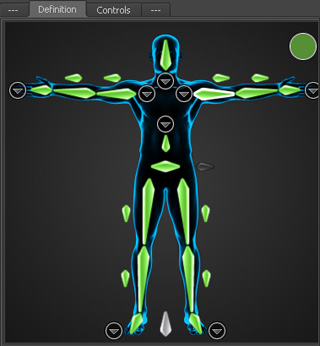
-
You must click the Lock button to complete and activate the mapping result.

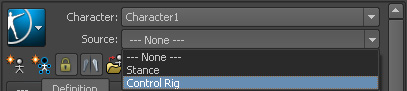
Step 4: Using the Human IK Control Rig for Key-frame Animation
-
Select the Control Rig from the Source drop-down list.
-
In the Control Rig pane, select one of the bones of the dummy.

-
Switch to the Move tool and move the selected bone.
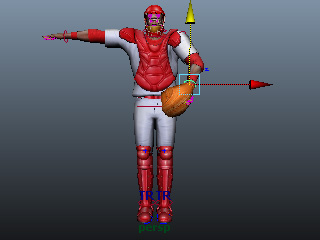
-
Set keys at different times and you can create key-frame animation for the character.