|
|
|
| How to Assemble an Apartment? |
|
| You can create you scene as blow. |
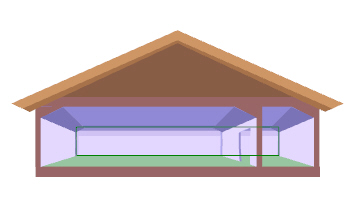
| A |
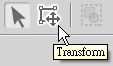
Use Transform Tool to change the location/size of props. |
| B |
Replace/ assemble building elements in Composer Mode. |
| C |
Change the color of props in Composer Mode/Color Editor. |
| D |
Put furniture in your apartment! |
|
| For more details, please follow the step-by-step instructions below. |
|
|
|
| A. Use Transform Tool to change the location/size of props. |
| |
|
| A-1 |
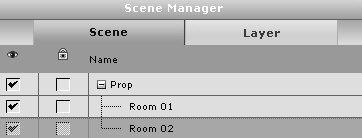
Apply the Rooms in Scene/Props.(eg. Room 01 & Room 02) |
| |
|
| |
|
| A-2 |
Click Room 02 in the Scene Manager. |
| |
 |
| |
|
| A-3 |
You can drag Room 02 to a new location directly in Viewport or via Transform Tool. |
| |
|
|
|
|
| B. Replace/ assemble building elements in Composer Mode. |
| You can replaced any building elements and adjust the location of any building elements. |
| |
| B-1 |
Click Room 02 in Scene Manager. |
| |
| B-2 |
Click Props Composer Mode. |
| |
 |
| |
|
| B-3 |
Select any building element that you want to replace in Viewport. (eg. Floor 03) |
| |
 |
| |
|
|
Double click the floor that you want in Content Manager (eg. Floor 02), and you will see that the floor has been replaced. |
| |
|
| |
| B-4 |
You can apply other building elements and move them. |
| |
Tip. When you need to apply other building elements, please make sure that there is no active prop in Viewport. If the prop is active, it will be replaced. |
|
|
| C. Change the color of props in Composer Mode/Color Editor. |
| |
| C-1 |
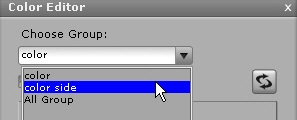
Click any wall (eg. Wall 01_R ), and then click the Color Editor. |
| |
 |
| |
|
| C-2 |
You can change the color of all the walls at once. |
| |
|
| |
|
| C-3 |
If You want to change the color of the side of the wall, please select Wall 01_R in Choose Group. |
| |
 |
| |
|
| C-4 |
When you finish editing, please click Back to Stage. |
| |
|
|
|
| D. Put furniture in your apartment! |
| |
| D-1 |
Apply the furniture that you want in Content Manger, and place them in appropriate locations via the Transform Tool. |
| |
 |
| |
|
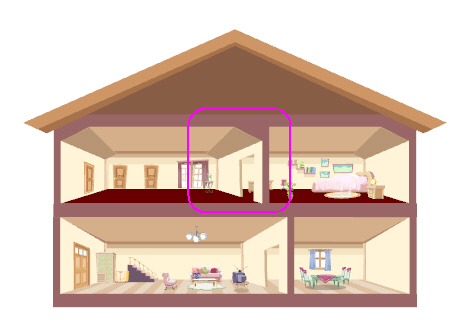
| D-2 |
You will see that some furniture needs to be behind a wall (as image above), there are two ways to do this: |
| |
| a. You can go back to composer mode and move the wall to the left. |
| b. Go in composer mode, and remove the wall. Go back to stage mode and apply a new wall and adjust the Z axis. |
|
| |
|
| |
|
| D-3 |
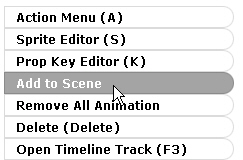
Select all props, and right click to select Add to Scene in Viewport. Click Add in Scene/Scene, and it is done! |
| |
|
|
|
| |