Manually Setting a T-Pose
When you start the Convert to Non-Standard procedure, the first and the most important step is to set a T-pose for the
character, no matter what the initial pose the character strikes. This is because the motions in iClone are all
generated for characters with an initial T-pose. Thus, if you set a T-pose for your custom character then the motions applied to it will
generate the most correct results.
If you known the 3D tool source from where your character was created, then you can use the
T-pose profile for quick setting. Please refer to the
Auto Setting T-Pose section for more
information.
Preparations before Setting T-Pose
-
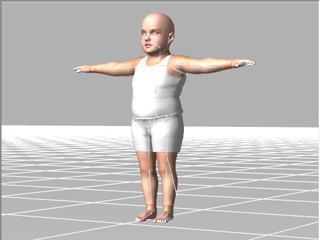
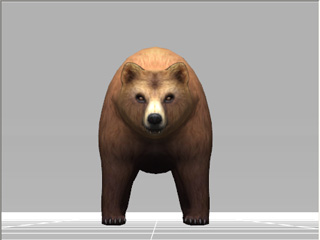
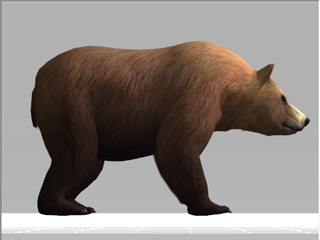
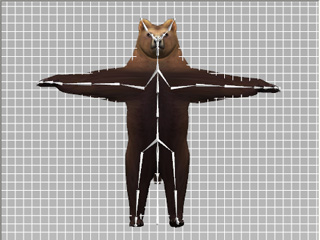
Press the F or A, S keys to switch the camera to a front or side views of the character. The front view is
suitable for adjusting the hands, and the side views are useful for modifying the
head, spines and legs.
|
|
|
Front View: Suitable for adjusting the hand levels.
|
Side View: Suitable for adjusting the front and back of
head, spines and legs.
|
-
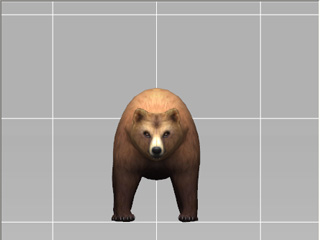
Make sure the grid is On (Shortcut: Ctrl + G).
-
Go to the View >> Camera Projection menu and select the
Orthogonal command to change the camera view to Orthogonal mode (Shortcut: Ctrl + Q).
|
Note:
|
-
In order to display the wall grids, make sure the grid is ON (Shortcut: Ctrl + G);
and press A, S, D, F, G, H
to ensure you precisely set the T-pose for the character from the standard views.
-
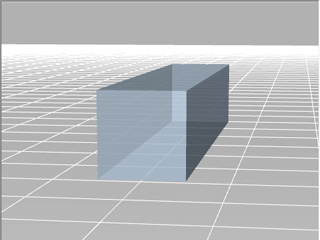
The Orthogonal mode is a method projecting a three-dimensional object in two dimensions.
It is a form of parallel projection to project each projection line in a 3D view.
|
|

|
|
The Perspective mode.
|
The Orthogonal mode.
|
-
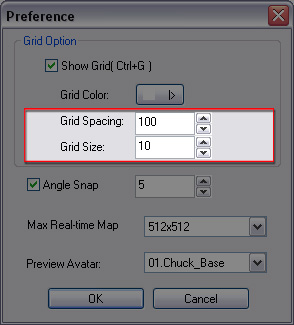
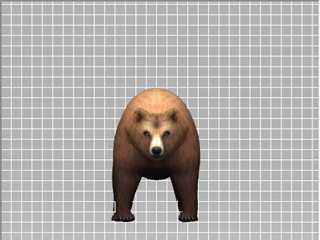
You may optionally adjust the density of the grid lines via the Preference panel (Shortcut: Ctrl + P).
-
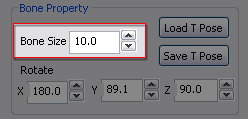
In the Bone Property section, increase the value of the Bone Size if the bones are not large enough for
observing or selecting.
|
Note: Select the Start Posture for T-Pose Setting
|
-
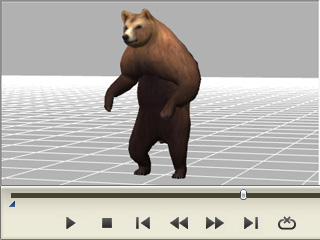
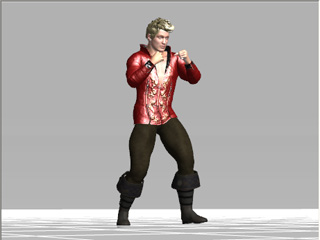
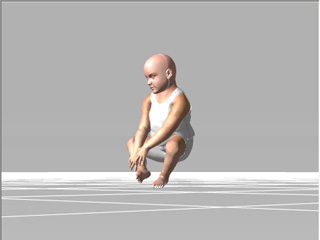
Before entering the Characterization mode, if the character has motions already,
then you can play back to find out a pose in the motion that is similar to the T-pose; pause
at the frame and start to characterization for minimum adjustments to the bones to manually set a
T-pose.
|
|
Find a pose in the motion that is similar to T-pose before entering the
Characterization mode.
|
|
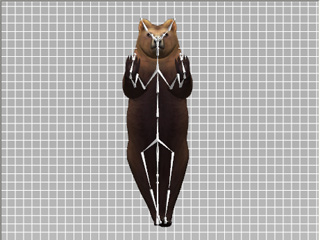
Manually Setting a T-pose
If the character's bone structure was made by you, and does not follow any character building convention found in other 3D editing tools, then you need to manually set the T-pose of the character.
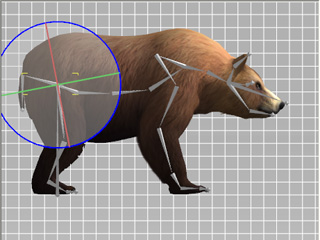
-
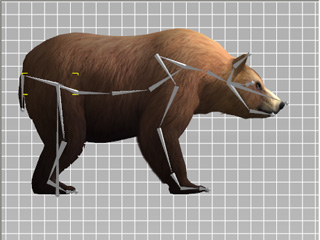
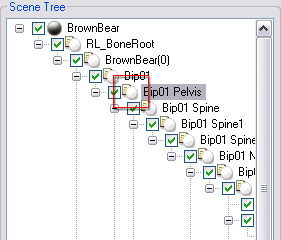
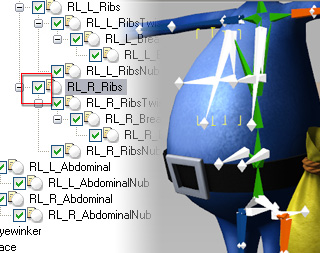
Select a bone of the character by clicking on the bone in the 3D viewer, or pick it in the scene tree. Please
note that the bones in the scene tree will be shown with white ball icons besides them.
|
|
|
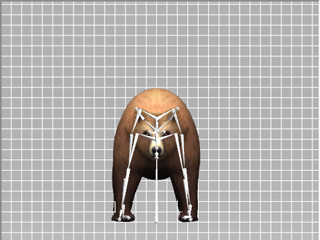
Side view of the character (Shortcut: A).
|
Picking in the Scene Tree.
|
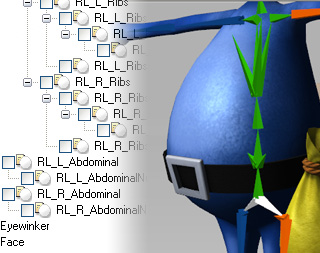
-
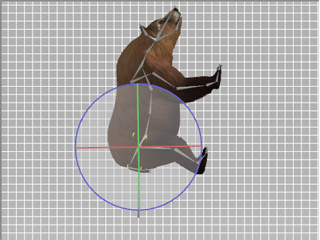
Switch to the Rotate Object
 tool (Shortcut: E).
The gizmo shows on selected bones.
-
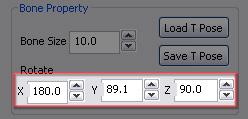
Drag the circle on the gizmo to rotate the bone. Alternative, you may enter values in the X, Y, and
Z numeric fields for precise angle adjustments of the bones.
-
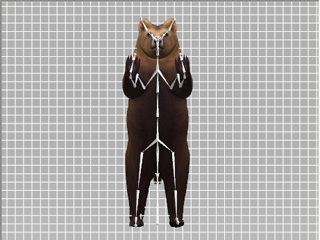
With the same method, rotate the bones of the legs so that the character stands up.
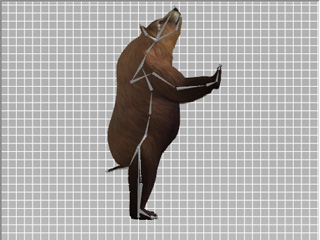
-
Adjust the head bone to make the character look forward.
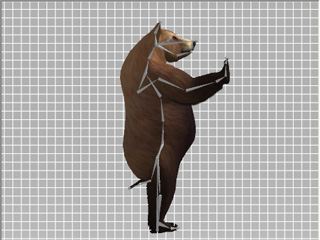
-
Switch to the front view and adjust the legs until they
straighten up.
-
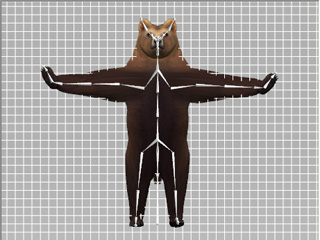
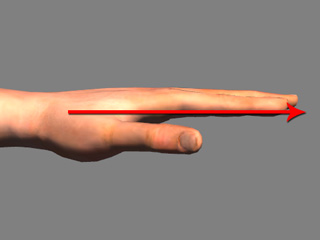
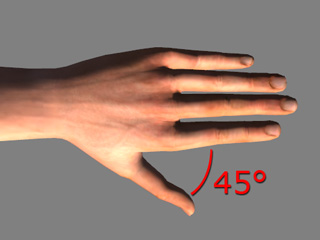
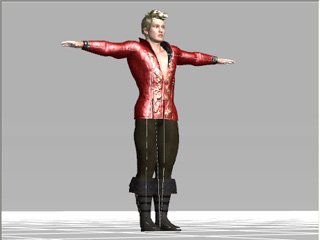
Adjust the hand bones so that the arms reach out and open with the palms facing down.
|
|
|
Arms opened wide.
|
Palms facing down.
|
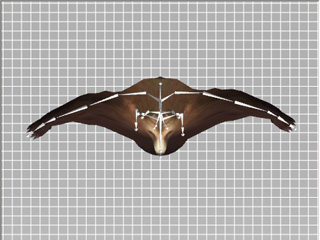
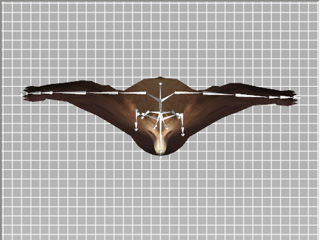
Switch to the top view (Shortcut: G) to make sure that the arms
are straight.
|
|
|
The arms are not straight.
|
After the bones are adjusted.
|
You may need to switch between different views to make sure that the hands are straight enough.
|
Note:
|
-
If your character has hand and finger bones, just make sure that the
bones are aligned in a linear fashion with the palms facing downward.
-
You can now hide redundant bones and save the show/hide information when
the character is converted to iAvatar format by deactivating the checkboxes of each individual bone.
|
|
|
Select the bone and deactivate its show/hide box in the Scene Tree.
|
The bone structure is clearer after redundant bones are hidden.
|
-
Activating or deactivating the box with the Ctrl key pressed will cause the
entire hierarchy under that node to be simultaneously shown/hidden.
-
The Show/Hide status of each node can be saved into the iAvatar
file after the character is converted so that you will not see the redundant nodes the next time
you load the character for editing again.
|
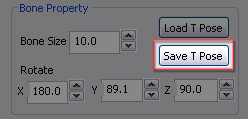
Saving and Loading Custom T-Pose Profiles
In order to save time when settings T-poses bone by bone, use the Save T Pose and Load T Pose features whicih you will be able to re-use as profiles. You may fine tuned these T-poses to use with all characters that have identical character
bone structures.
Please note that this feature is only suitable for characters exported from DAZ, or characters created in
Maya Human IK or 3DS Max CS formats. The characters create with the Attach feature in
iClone may sometimes encounter incorrect results with this feature.
-
Load a character (in this case, a character in FBX format exported from DAZ) with a custom pose.
-
Click the Convert to Non-Standard button to enter the characterization mode.
-
Adjust the bones to set a T-pose for the character with the steps described in the previous section.
-
Click the Save T Pose button to save the pose as a profile.
-
Click the Cancel button to exit the characterization mode.
-
Load another character whose Basic Bone Structure is identical to the previous character.
-
Click the Convert to Non-Standard button to enter the characterization mode.
-
Click the Load T Pose button and select the profile saved in Step 4.