
- Windows XP: C:\Program Files\Reallusion\iClone 3DXchange 5\3DX template\TPose\
- Windows 7 or above: C:\Program Files\Reallusion\iClone 3DXchange 5\3DX template\TPose\
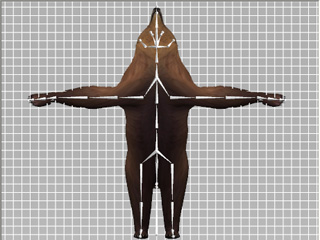
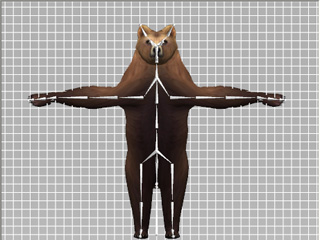
When you start the Convert to Non-Standard procedure, the first and most important step is to set a T-pose for the character, no matter what the initial pose the character strikes. This is because motions in iClone are all generated for the characters with an initial T-pose. Thus, if you set a T-pose for your custom character then the motions applied to it will generate the most correct results.
If you do not know where the character comes from (unknown source), then you need to manually set a T-pose for the character. Please refer to the Manually Setting T-Pose section for more information.
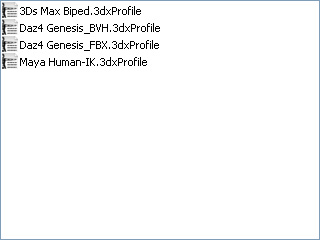
If the bone structure of your custom character is built with the conventions of your favorite 3D editing tools such as 3DS Max or Maya, or if your character is a character exported from 3D character tools such as DAZ, then you do not need to spend too much time on manually setting a T-pose. 3DXchange provides ready to use profiles for quickly setting T-poses in characters.