|
 |
How-to Convert previous CrazyTalk content into
CrazyTalk Animator content? |
|
|
|
|
Which of the CrazyTalk 6 contents are supported in CrazyTalk Animator? |
|
| |
|
| |
CrazyTalk Animator uses an all-new 3D core technology; so some of the CrazyTalk content formats can not be applied into CrazyTalk Animator. At the moment, only CTM, CTS and CLP content formats can be applied into CrazyTalk Animator. |
| |
Note. |
| |
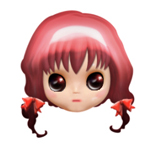
CTM files are models created by face fitting in CrazyTalk.
CTS, CLP files are Script/Motion Clips, and they are used to generate facial animations in CrazyTalk. |
| |
|
|
|
|
How to load files that are still supported (ctm, cts., clp) in CTA?
What formats will they be saved as? |
|
| |
|
| |
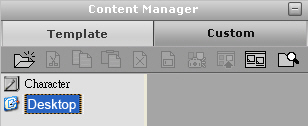
Users can get their files from the CrazyTalk folder, and save them as new files inside CrazyTalk Animator. |
|
| |
| |
|
| 1. |
Find these files in the CrazyTalk path folder below.
|
| |
(You may also use the Drag & Drop functions to drag the files into CrazyTalk Animator.) |
| |
C:\Program Files\Reallusion\CrazyTalk 6(5)\Templates\CrazyTalk 6 Template\Model\Subfolder |
| |
|
| |
|
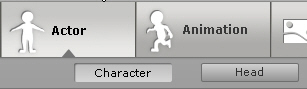
| 2. |
Click the Character Composer button. |
| |
 |
| |
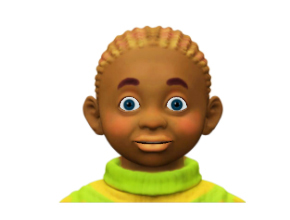
There may be some minor visual differences caused by the new 3D core technology in CTA. |
| |
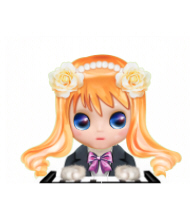
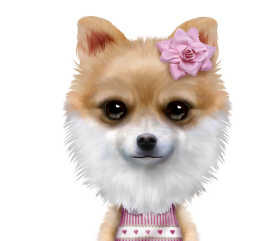
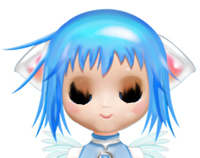
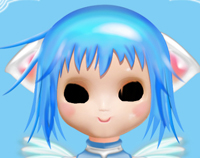
| In CrazyTalk |
In CrazyTalk Animator |
 |
 |
|
| |
|
|
|
| |
| |
|
| 1. |
Copy all the CTS and CLP files from the CrazyTalk folder to the CrazyTalk Animator folder. |
| |
CrazyTalk Folder Path: |
| |
CLP: C:\Program Files\Reallusion\CrazyTalk 6\Templates\CrazyTalk 6 Template\MotionClip\Subfolder |
| |
CTS: C:\Documents and Settings\All Users\Documents\Reallusion\Shared Templates\CrazyTalk 6 Template\Script\Subfolder |
| |
CrazyTalk Animator Folder Path: |
| |
C:\Documents and Settings\All Users\Documents\Reallusion\Template\CrazyTalk Animator Template\Face\ |
| |
|
| 2. |
You may directly apply CTS, CLP files into CrazyTalk Animator\Animation\Faces. |
| |
|
| |
Top |
|
|
|
|
What is the difference between the repacked CTA content packs and the CT content packs? |
|
| |
1.Adjust the CTM for reduced visual differences. |
|
| |
| |
|
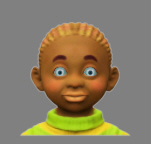
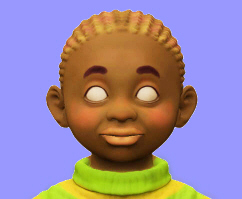
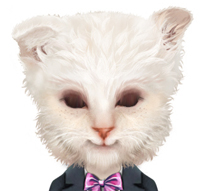
| 1-1. |
White edges around the model.
|
| |
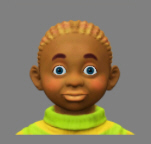
Change the color of the background to gray,
in order to better see the white edges around the model.
|
| |
If needed, you may remove the edges in the Character Composer/Face Fitting/Background Mask. |
| |
|
| |
|
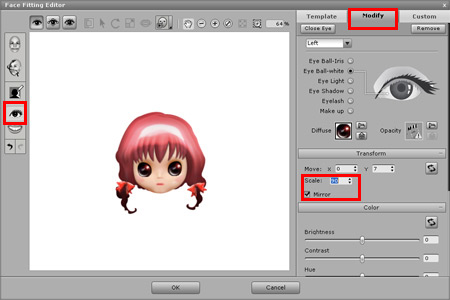
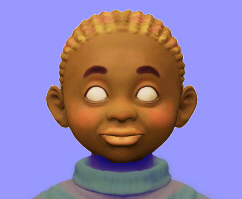
| 1-2. |
Eyeball Size |
| |
Scale the size of the eyeballs in Character Composer Mode\Face Fitting\Eye Setting\Modify |
| |
|
| |
|
| |
|
| 1-3. |
Check the face with the Face Calibration panel and adjust in Character Composer Mode/Face Fitting |
| |
as below. |
| |
|
| |
(a) When blinking, eyelids will stretch. |
| |
| In CrazyTalk |
In CrazyTalk Animator |
 |
 |
|
| |
CrazyTalk Animator is produced by new 3D core technology. Therefore,
some situation as above has occured. Please wait patiently for
CrazyTalk Animator patch to resolve this issue. |
| |
|
| |
(b) Eyes cannot fully close. |
| |
| In CrazyTalk |
In CrazyTalk Animator |
 |
 |
|
| |
CrazyTalk Animator is produced by new 3D core technology. Therefore,
some situation as above has occured. Please wait patiently for
CrazyTalk Animator patch to resolve this issue. |
| |
|
| |
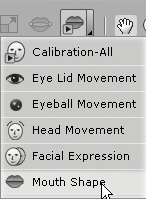
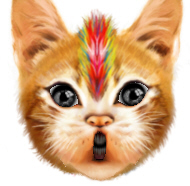
(c) When a character opens its mouth,
the teeth may look different in CrazyTalk Animator and in CrazyTalk.
You may adjust the Mouth Settings in Character Composer Mode/Face Fitting/Mouth Setting/Modify,
as below. |
| |
 |
| |
|
| |
|
| |
Top |
|
| |
2.Separate the original CTM files into Head and Body segments. |
|
| |
| |
|
| |
|
| |
|
| 2-1. |
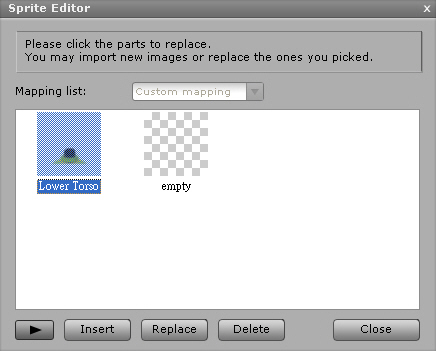
Insert Lower Torso Sprite. |
| |
When applying a CTM, from CrazyTalk 6(5) to CrazyTalk Animator, it may sometimes be set as a character's head (by default). Therefore, you must mask the body part as shown below. |
| |
|
| |
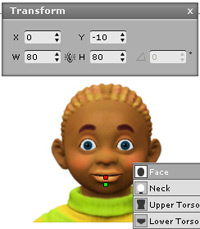
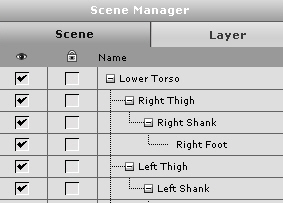
All Characters have the same structure in CrazyTalk Animator;
you may see the structure in the Character Composer Mode/Scene Manager. |
| |
 |
| |
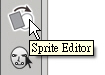
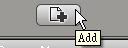
Select the Lower Torso in the Scene Manager,
and click on the Sprite Editor to insert the body source image. |
| |
|
| |
Setting the Connection Point
Click here to learn more about the Connection Point. |
| |
Top |
| |
|
|
| |
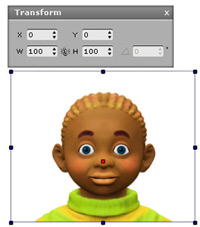
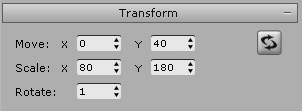
3.You may use the Key Editor, in CrazyTalk Animator, to generate poses (i.e. Neck rotation). For this,
you need to adjust the pivots of Upper/Lower/Neck. |
|
| |
|
| |
Click here to get more information about Key Editor. |
| |
| |
|
| 3-1. |
The Key Editor is based on IK (Inverse Kinematics) methods; because of this the Upper/Neck Pivots need to be defined.
|
| |
As in 2-1-2, Insert a Upper Torso / Neck Sprite.
You may insert temporary images in order to define the Pivot. Then, adjust the Pivot as below. |
| |
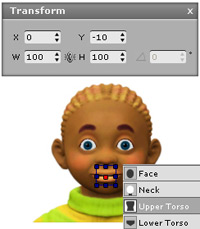
Lower Torso: Make sure that the X and Y values are 0. |
| |
|
| |
Move the Upper Torso > Neck > Face to the appropriate location.
During this move the face may sometimes shift because of the parenting relationships. |
| |
Final position is as below: |
| |
|
| |
Top |
|
|
| |
|