|
|
|
|
| You can easily assemble a vehicle |
| A |
How to assemble a car. |
| B |
Replace/ assemble car elements in the Composer Mode. |
| C |
Change the color of the props in Composer Mode/Color Editor. |
|
| For more details, please follow the step-by-step instructions below. |
|
|
|
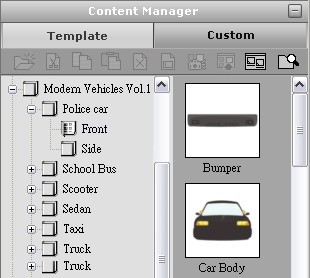
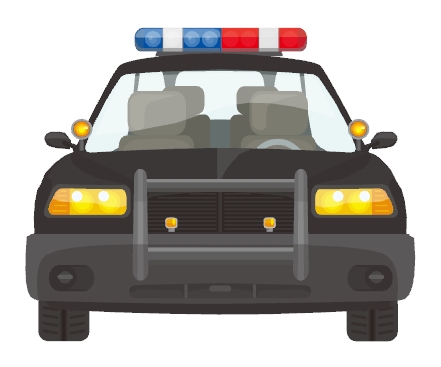
| A. How to assemble a car. |
| We have set components' locations and layers for each car's components. You only need to load the car to the stage and you can see a completed car. |
| Take the police car's front for example. |
| |
|
| A-1 |
Go to Scene > Props and click Police car's folder. |
| |
|
| |
|
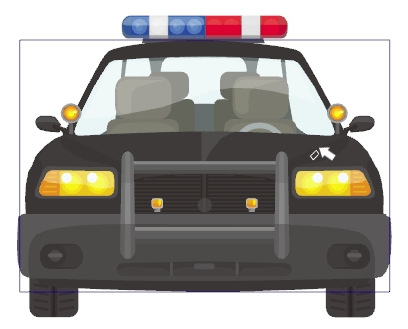
| A-2 |
Load every props to the stage and you will have an assembled car. |
| |
 |
| |
|
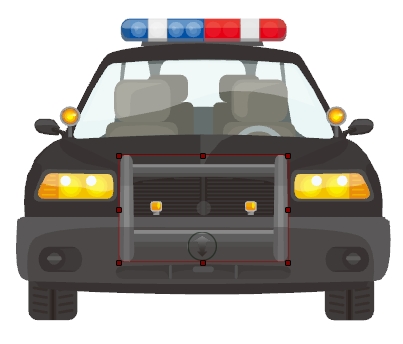
| A-3 |
Link the props to the Car Body.
Choose the props and select Link, and then click the Car Body. |
| |
|
| |
Link other props. |
|
|
|
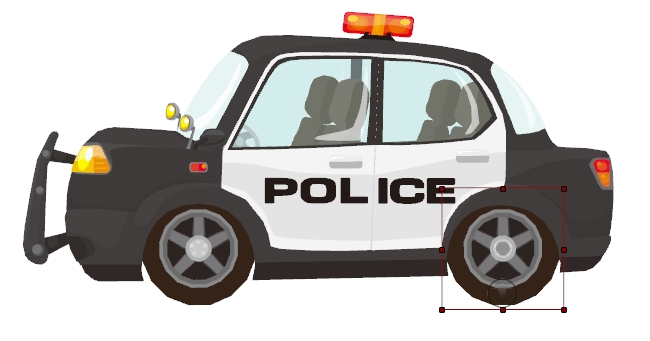
| B. Replace/ assemble car elements in the Composer Mode. |
| You can replace any car's components and adjust the location of them. |
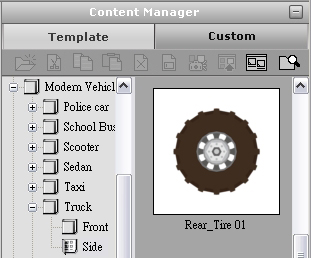
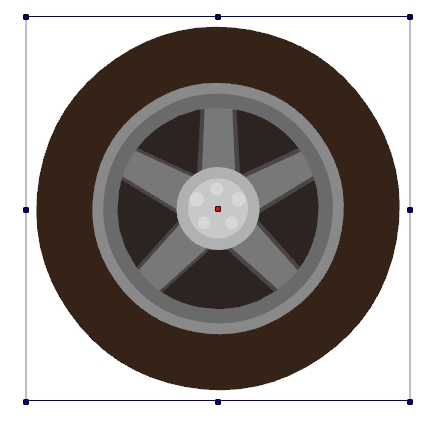
| Take the tire for example. |
| B-1 |
Click the props that you want to replace. |
| |
 |
| |
| B-2 |
Switch to Props Composer Mode. |
| |
 |
| |
|
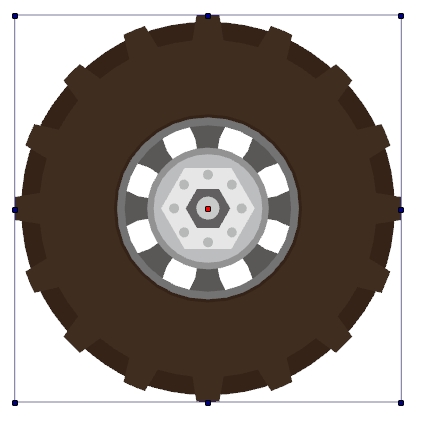
| B-3 |
Double click the tire pattern to get the replacement. |
| |
|
| |
| B-4 |
After replacing it, go back to stage. |
| |
 |
| B-5 |
You have Replaced the props without changing its position. |
| |
|
|
|
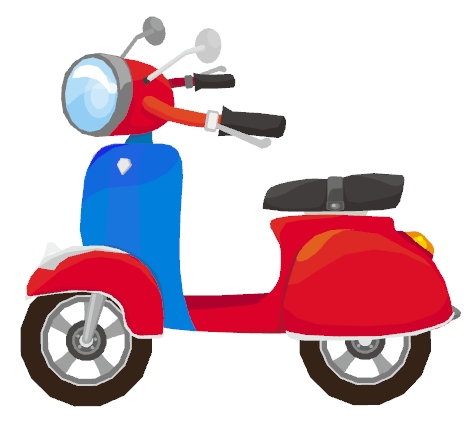
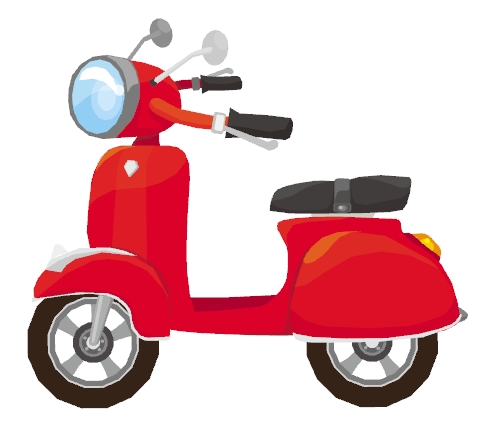
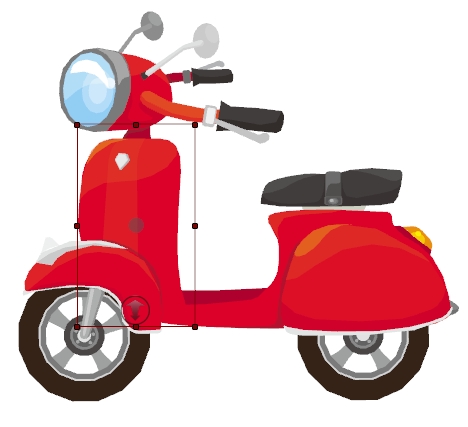
| C. Change the color of the props in Composer Mode/Color Editor. |
| Take the scooter for example. |
| |
| C-1 |
Click the props that you want the color to change. |
| |
 |
| |
|
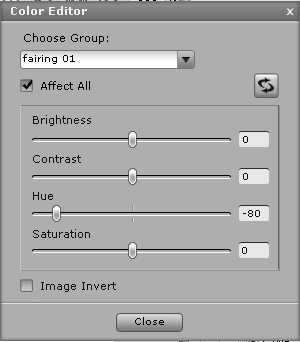
| C-2 |
Click the Color Editor in Props Composer Mode. |
| |
 |
| |
|
| C-3 |
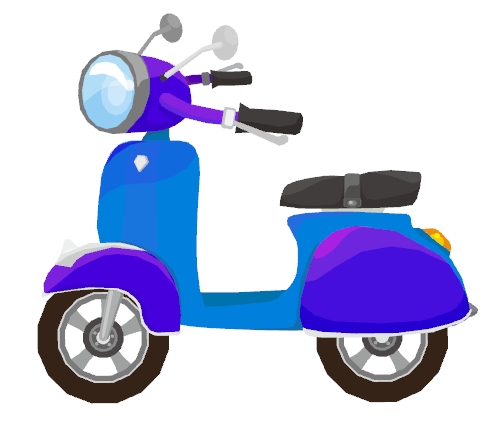
You can change the color of it. |
| |
|
| |
|
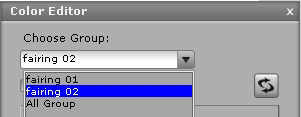
| C-4 |
If You want to change the color of the mark on the scooter body, please select fairing_02 in Scene Manager and adjust it. |
| |
 |
| |
|
| C-5 |
When you finish editing, please click Back to Stage. |
| |
|
| |
|
| C-6 |
Edit the color for other props, and then you can change the color of the entire scooter. |
| |
|
| |
|
|
|
| |