Layering Motion Keys to Existing Motions (New for 5)
Once you apply a motion clip to an actor, then you may want to
fine tune the offset (position) for each bone. This can be done via the
Edit Motion Layer feature.
The pose with the edited bones will be kept as a key in the Motion Layer track, and its effect
will remain throughout the clip unless another key is set. The transition between the two motion layer keys will then auto-generate.
Making an Absolute Motion Layer Key
An absolute motion layer key is for setting a motion layer key that takes charge in the angle of a specific bone, and ignores the effects of the underlying motion.
If you want to set a relative motion key, also known as a relative key, so that the effect of the key blends into the underlying motion, then follow the
steps below:
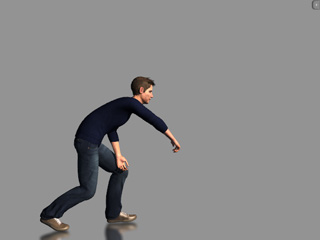
Select a character that already has an applied motion.
Go to the Animation >> Motion,
and click the Edit Motion Layer button in the Modify panel.
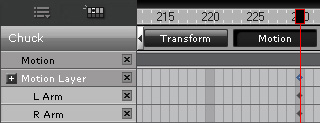
Move to the specific time where you want to overlay the offset key in the clip.
Select and adjust the effector points you wish to edit with the or tools.
The key will automatically be added into the Motion Layer track
and be blended in the pose of the motion in the Motion track.
Please refer to the Using the Edit Motion Layer Panel section for more information.

 button in the Modify panel.
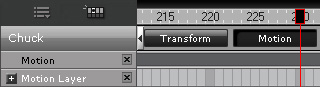
 or
or  tools.
The key will automatically be added into the Motion Layer track
and be blended in the pose of the motion in the Motion track.
Please refer to the Using the Edit Motion Layer Panel section for more information.
tools.
The key will automatically be added into the Motion Layer track
and be blended in the pose of the motion in the Motion track.
Please refer to the Using the Edit Motion Layer Panel section for more information.