Bringing iClone Animations to Morph-based Characters

Whenever you create a character in your favorite 3D tools with morphing data (also called blending meshes), you are still able to use 3DXchange and iClone to quickly generate body motions and facial expressions for the character.

* Please note that this pipeline is suitable for characters with morphing data, even though the character is bone-skinned.

Step 1: Character Preparation in External 3D Tools

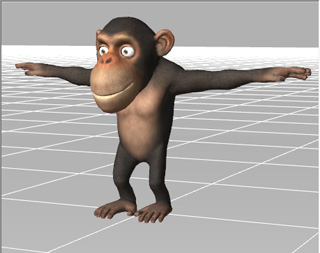
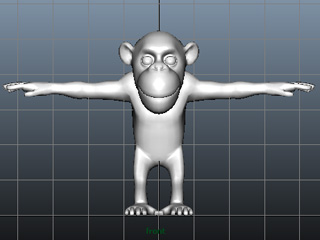
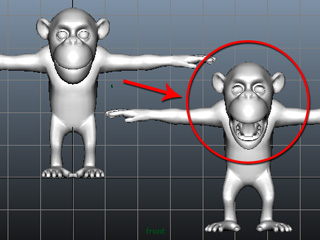
  1. Prepare a character with body and facial bones rigged in any 3D tools (in this case, Maya).
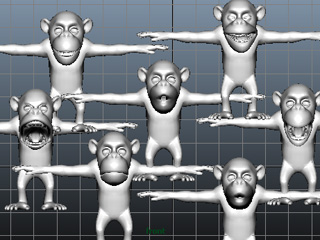
  2. Generate morphing meshes (also called blending meshes) from the character's mesh.
  3. You can create various morphing meshes in the same manner.
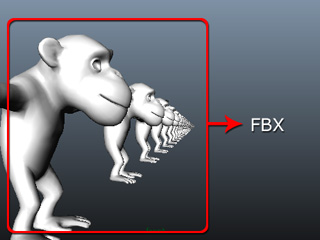
  4. Export the character and the morphing data in FBX format.

    Note:

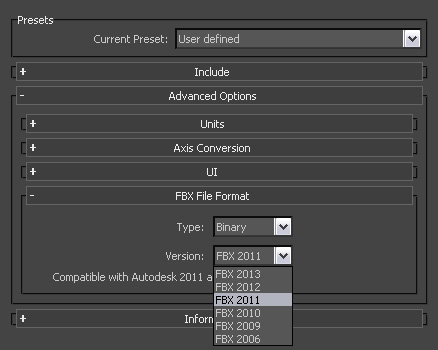
    To ensure that 3DXchange can successfully import FBX files with morphing data made by most 3D tools, you must export your FBX file in FBX 2011 version:

    • Maya

      1. Go to File >> Export All... >> Option.
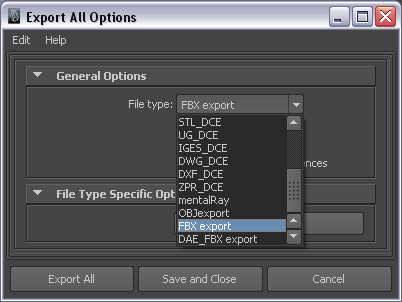
      2. Set the File Type to FBX export. Click the Export All button.
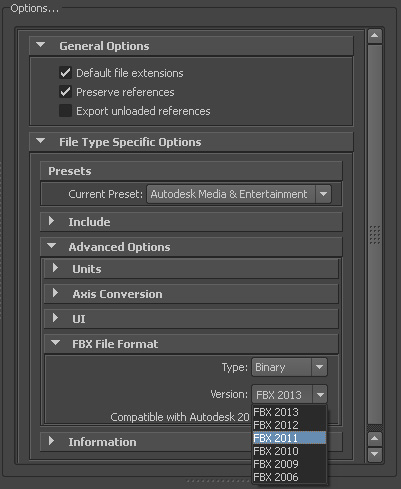
      3. In the Export All panel, set the FBX File Format >> Version to FBX 2011.
      4. Click Export All button to save the character as an FBX format.
      5. If you can not find the version, then please upgrade your Maya to include this version of FBX.
    • 3ds Max

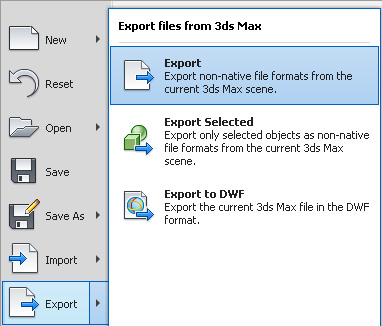
      1. Go to >> Export >> Export.
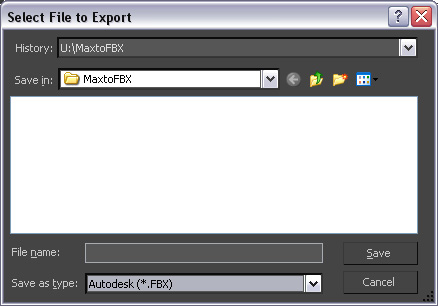
      2. Set the Save as type to FBX. Click the Save button.
      3. In the FBX Export panel, set the FBX File Format >> Version to FBX 2011.
      4. Click OK button to save the character as an FBX format.
      5. If you can not find the version, then please upgrade your 3ds Max for including this version of FBX.

Step 2: Loading and Characterizing the Character

  1. Open 3DXchange. Load the prepared character (in FBX format).
  2. Characterize the character.
  3. Use the Expression Editor to fully set the facial animation profiles for the character. This step ensures the character is able to perform every facial expressions included in the MotionPlus file.
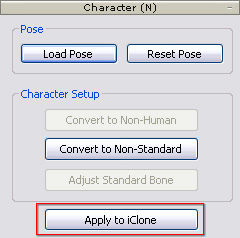
  4. Click the Apply to iClone button to send this characterized character to iClone.

Step 3: Appling Body Motions and Facial Expressions in iClone

  1. In iClone, make sure the character is in the 3D viewer.
  2. Utilize iClone features to apply motions and expressions to the character.
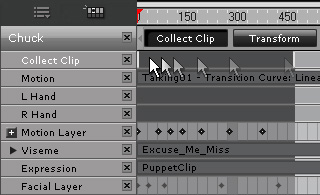
  3. Use the Collect Clip feature to export MotionPlus files.

Step 4: Exporting the Character with MotionPlus by 3DXchange

  1. Go back to 3DXchange, make sure the characterized character is still in the 3D viewer.
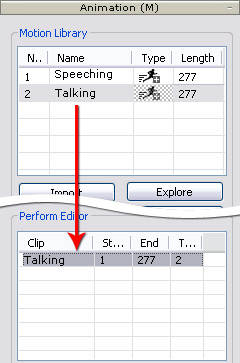
  2. Drag and drop the previously exported MotionPlus Clip files to the Motion Library.
  3. Add the desired MotionPlus from the library to the Perform Editor
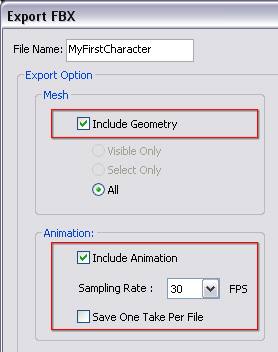
  4. Export the motion clips as FBX files. Please note that you must activate both the Include Geometry and Include Animation options to export the character and its animations as a set.

Step 5: Loading the Exported FBX Motions to 3D Tools

  1. Go back to your 3D tools (in this case, Maya), create a new file with an empty working space.
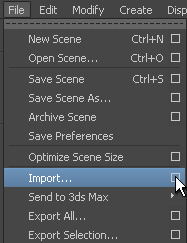
  2. Go to File >> Import... >> Option.
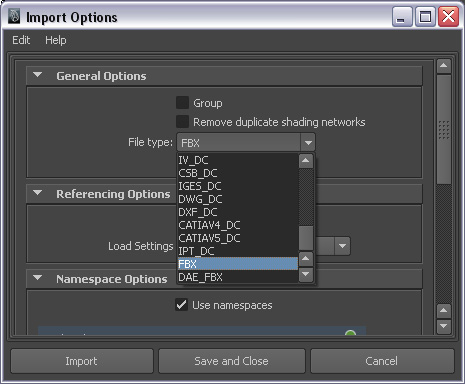
  3. Set the to FBX in the Import Options panel. Click the Import button.
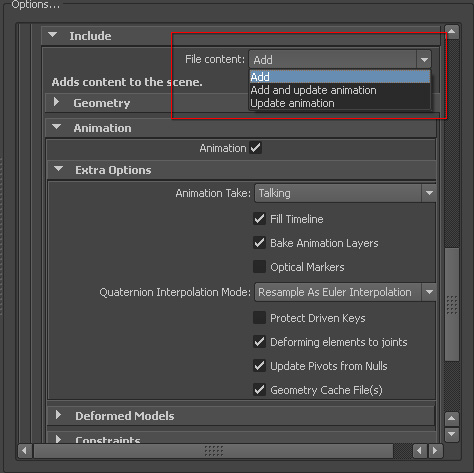
  4. Select the FBX file you just exported from 3DXchange. In the Include section, set the File Content to Add as this is a new project.
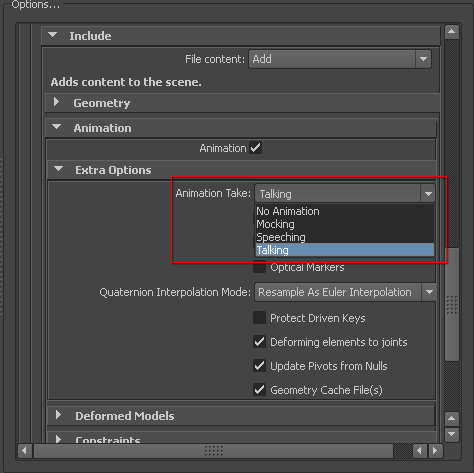
  5. Select the desired motion clip from the Animation Take drop-down list.
  6. Play back and the character will start the body and facial animations.

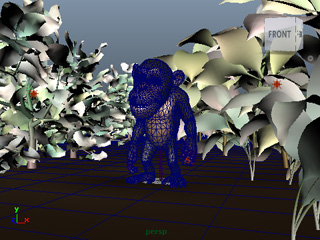
    The rendered video from Maya (with motion blur effect).