Creating Custom Puppeteering Profiles (New for 5.4 and for Pro only)

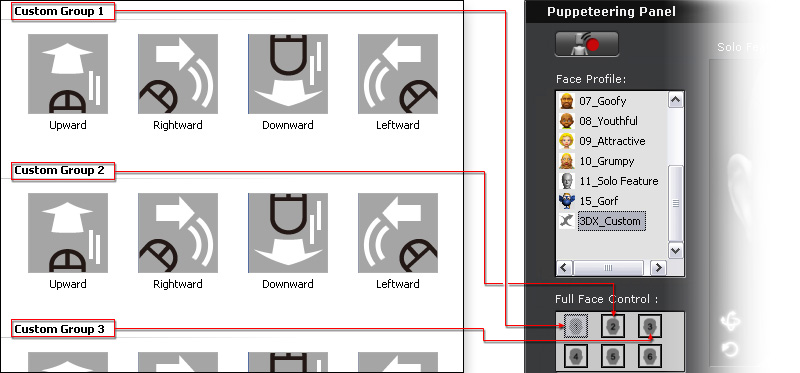
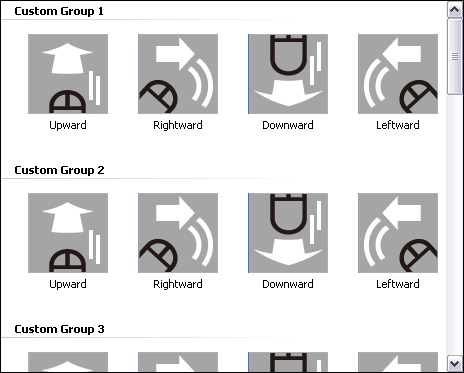
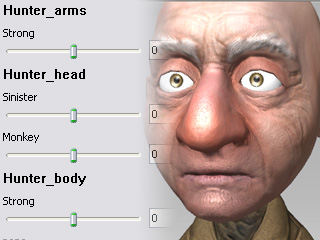
In the Custom tab of the Expression Editor, you are able to define up to six custom puppeteering profiles. This is very useful when you want the character to have special or deliberately designed expressions shown when the mouse cursor moves during face puppeteering in iClone.

  1. Make sure the facial bones have been correctly mapped during the characterization procedure.
  2. Click the Expression Editor in the Face Setup section and switch to the Custom tab.
  3. Click on one of the thumbnails in the list.
  4. Set the transformation limits of the bone and the blend shape strengths for the thumbnail.

    Bone-based Settings

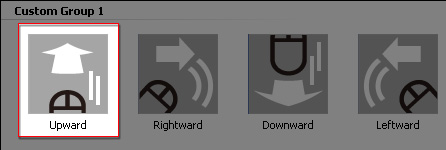
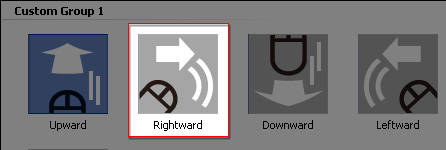
    Taking the Upward in the Custom Group 1 as an example, you may determine the bone transformation limits when the mouse cursor moves up during the Face Puppeteering procedure.

    1. Select any of the facial bones.
    2. Use the Move Object and Rotate Object tool to adjust the bone
    3. Repeat the same steps to the other bones to form a look for the thumbnail.

    Morph-Based Settings

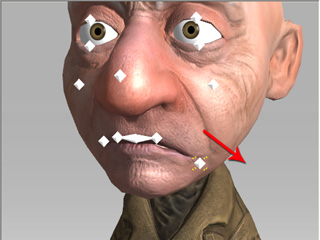
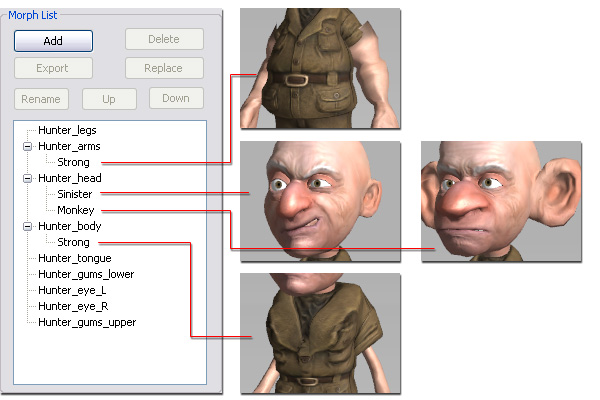
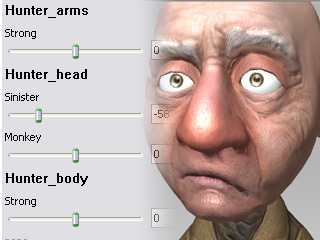
    If you have prepared blend shapes of the character's head, then you are able to create a morphing effect when the mouse cursor moves to a specific direction during the Face Puppeteering procedure. Please note that you can morph not only the face, but also the body via this method (Taking the Rightward in the Custom Group 1 as an example).

    1. Make sure that you have prepared and loaded the blend shapes for the character's face into the Morph List.
    2. As described above, the thumbnail, Rightward, is selected.
    3. Adjust the morphing strengths by dragging the sliders at the right side of the Expression Editor.

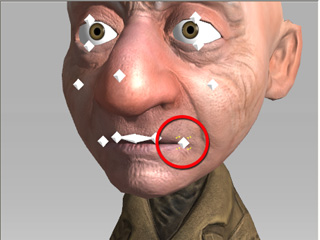
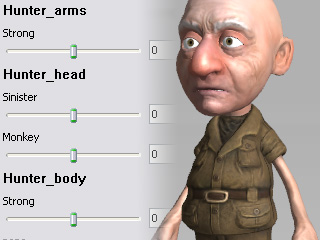
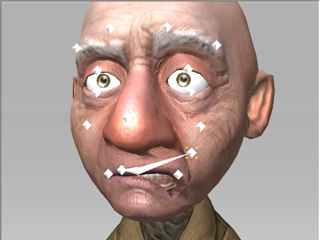
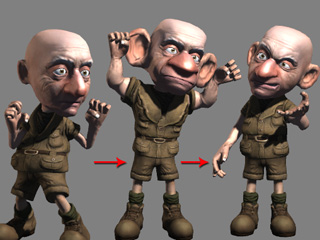
      Initial mesh status.

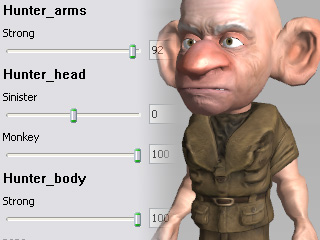
      The morphing method adjusts each part of the character's mesh.

    Bone-Morph-Based Settings

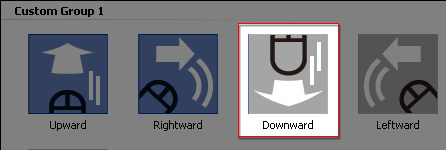
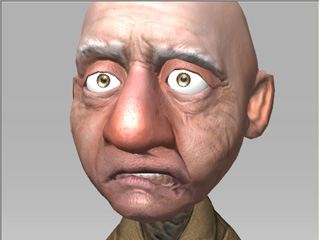
    If you want to mix up the bone-based and morph-based settings, in order to create more sophisticated or dramatic movements of the facial muscles, then you may use the bone-morph-based method (in this case, the thumbnail, Downward, is taken as an example).

    1. Adjust the sliders at the right side of the Expression Editor to apply a more dramatic look.

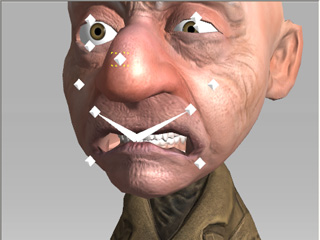
      Initial facial expression.

      After facial morph.

    2. Select one of the facial bones.
    3. Use the Move Object and Rotate Object tool to adjust the bone
    4. Repeat the same steps for the other bones to form a basic look corresponding to the thumbnail.
  5. Click the Set button to save the bone transformation and morph data into the thumbnail.

    Note:

    • You must click the Set button to keep the desired result, otherwise the data kept in the thumbnail will not be updated.
    • You may click the Auto button to automatically update the data after each adjustment you make.
  6. Repeat the steps until all the thumbnails in this page are set with adequate transformation limits or blend shape data.
  7. After you export the character to iClone, it can perform special expressions or body transformations by using the custom profile of the face Puppeteering Panel.

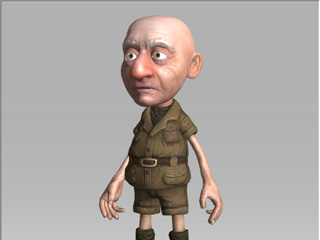
    The character can have various facial expressions created by the facial muscles.