Exporting Character Attached with Animated Accessories (New for 5.5)
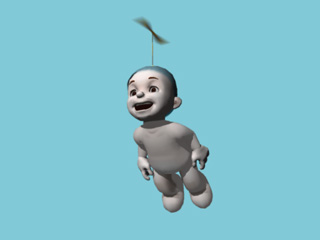
If you want to convert a character with accessory animations or spring animations
into FBX format for further usage, then
you can export the character and the accessories as a set instead of separately exporting them and
re-assembling them in external 3D tools.
Step 1: Creating an Animated Accessory in iClone
-
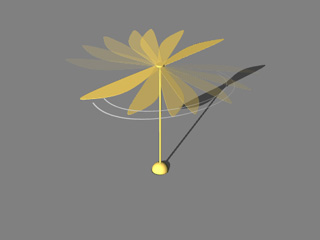
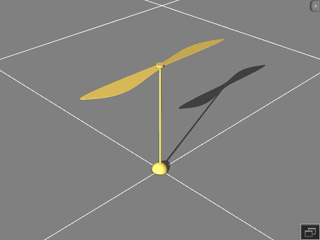
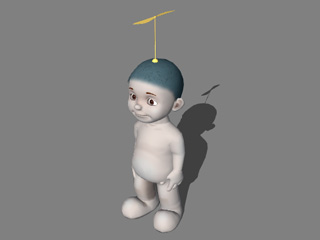
Prepare a prop in iClone.
-
Use Key-framing or Prop Puppeteering methods to apply
animations to the prop.
-
Attach the prop to the character. This step turns the prop into an
accessory.
Step 2: Export the Character with Accessory to 3DXchange
-
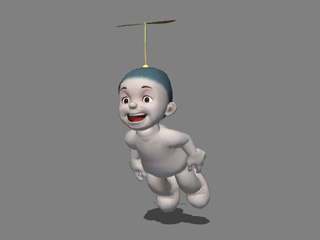
Optionally add facial expressions or body motions to the character in
iClone.
-
Select the character and switch to the Actor >> Avatar page.
-
Click the Edit in 3DXChange button in the Modify panel.
The character and the accessory will be sent to 3DXchange.
Step 3: Exporting MotionPlus from iClone to 3DXChange
The accessory's animations and the character's body motions plus facial expressions can now be exported
in MotionPlus format via three methods. In this case, the Collect Clip method is used.
For more information about exporting MotionPlus, please refer to the
Exporting Face-body Animated iClone Characters to 3D Tools and
What is MotionPlus?
sections.
-
Go back to iClone.
-
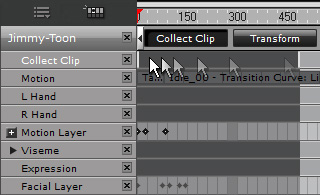
Open the Timeline.
-
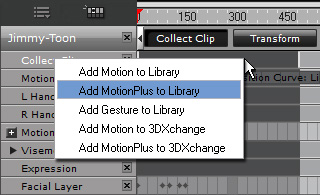
Open the Collect Clip track of the character.
-
Drag in the track to make a range for exporting.
-
Right click within the range.
-
Select the Add MotionPlus to Library command in the right-click menu.
-
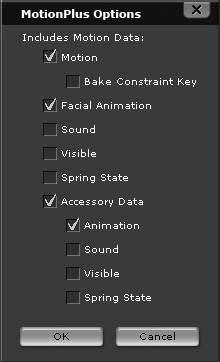
Activate the Motion and Facial Animation boxes for the character-related motions and
the Animation box under the Accessory Data item to include the accessory's animations. Click OK to save.
-
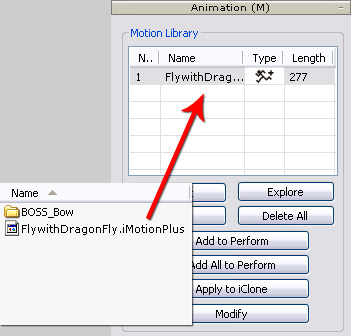
Add the saved MotionPlus file into Motion Library of 3DXchange.
|
Note:
|
-
Please refer to the
What is MotionPlus
section for more information about the data that can be
included into MotionPlus format.
|
Step 4: Export Body Motions and Facial Expressions as FBX
-
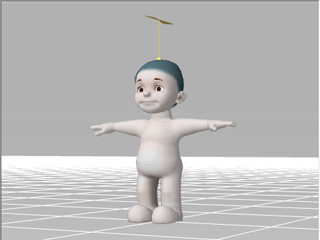
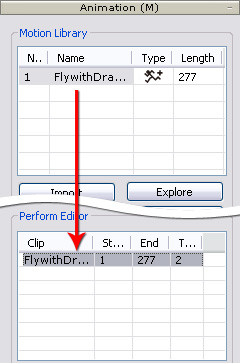
Go to 3DXchange. Add the desired clips from the Motion Library to the Perform Editor.
-
Export the character along with the motions as FBX files.
-
Load the exported FBX files into your favorite 3D tools.
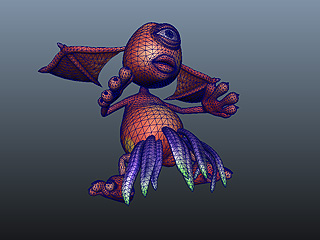
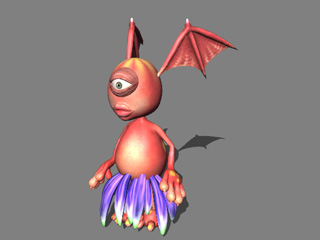
Creating Expressions with Accessories from the Monster Pack
Since the animations of the accessories can be exported as described in previous section,
you can use the accessories from the
Reallusion Monster Workshop to create expressions
or special animations
for your unique monster in iClone and then export it via 3DXchange
to external 3D tools.
-
Assemble your unique monster with body part accessories (in this case, the wings, the eye and the skirt)
in iClone.
-
Animate these accessories to generate expressions or other animations. Please
refer to the
tutorial
page for more information about how to puppeteer these accessories.
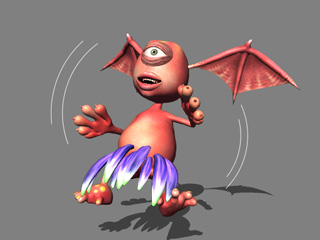
-
Follow the work flow described in the previous section to convert your monster
into FBX format.
-
Load the FBX file to your preferred 3D tool and play to see the custom animations.