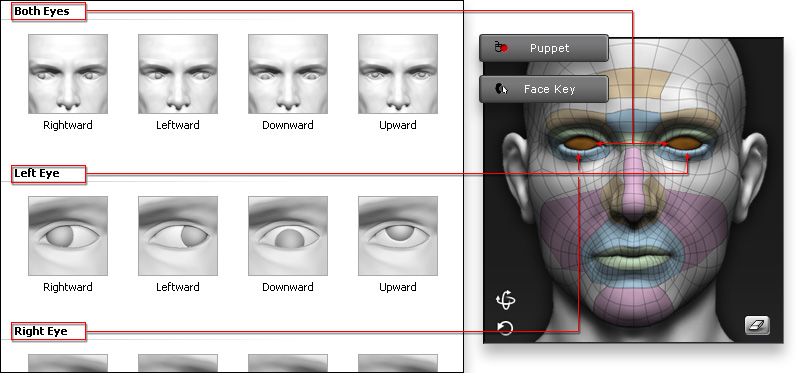
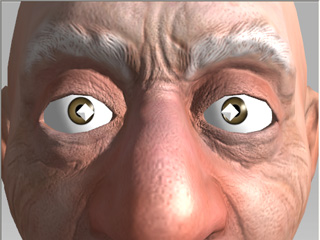
Setting Eye Movement Data (New for 5.4)
In the Eye tab of the Expression Editor, you are able to set
the transformation limits of the eye bones. After these settings have been defined, the character
can have eye-rolling movements in iClone.
*Please note that the morphing sliders are not activated in this page in order
to prevent unexpected results.
-
Make sure the
eye bones have been correctly mapped during the characterization procedure.
-
Click the Expression Editor in the Face Setup section and
switch to the Eye tab.

-
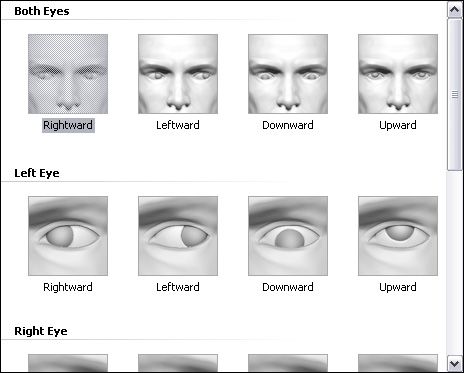
Click on one of the thumbnails in the list.
-
By default, both eye bones will be automatically selected.
If not so, then manually select both of the eye bones.
-
Switch to the Rotate Object
 button and rotate the eye bones to
the desired limit according image in the thumbnail icon.
button and rotate the eye bones to
the desired limit according image in the thumbnail icon.
-
Click the Set button to save the data into the thumbnail.

|
Note:
|
-
You must click the Set button to keep the desired result, otherwise the
data kept in the thumbnail will not be updated.
-
You may press down the Auto button to automatically update the data
after each adjustment you make.
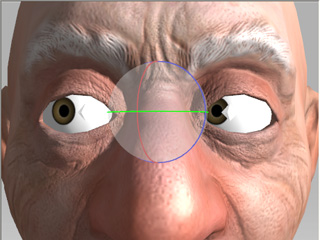
-
The thumbnail in the Both Eyes section
controls the rotation of the both eyes. Its data
equals to the combination of data from the thumbnails in the
Left Eye and the Right Eye sections.

-
If you want to fine-tune individual eye bones,
then select the thumbnail in the right or left eye
sections and use the rotate object tool to set the
turning angle of the eyeball.
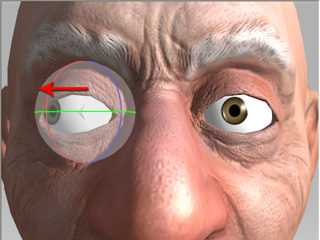
|
|
Fine-tuning one eye.
|
-
If you are setting one of the eye bones, you may press the
"\" key to temporarily preview the rotation result for both eyes.
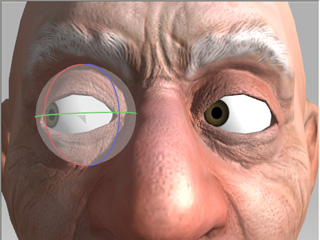
|
|
Press the "\" key to preview the
rotation result for both eyes.
|
|
-
Repeat the step until all the thumbnails in this page are set with
adequate transformation limit data for both of the eye bones.
-
After exporting the character to iClone, the character's head can
be animated via the Facial Puppeteering and Face Key panels.