Auto Bone-Mapping Method
In the Bone Mapping tab of the characterization procedure, you will need to
map at least 15 bones from the custom character to the Reallusion Bone Structure.
If the character contains fingers, neck or spine bones, then you may even need go to the advanced mode for
mapping these bones.
Furthermore, if you know the 3D tool (known source) that exported the original character, then you
do not need to manually set the mappings but simply to apply a ready-to-use mapping profile for auto-mapping
the bones instead. If you do not know where the character was made in, then you need to manually map the
bones. Please refer to the Custom Bone Mapping Method section for more information.
Mapping Bones - Using Mapping Presets
-
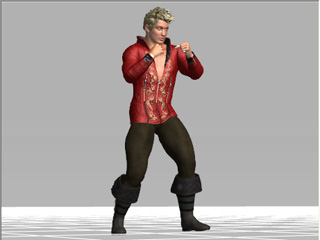
Import a character (in this case, a DAZ character).
-
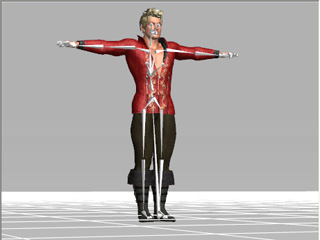
Enter the Convert to Non-Standard mode and
set the T-pose for the character.
-
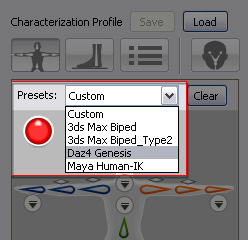
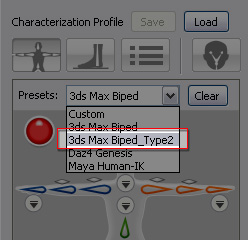
Pull down the Presets drop-down list found above the dummy pane.
Select a preset from the list according to the 3D tool source of the loaded character.
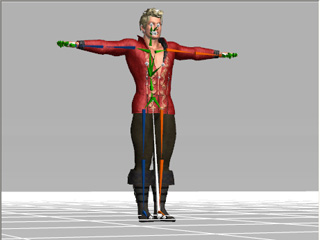
-
The bones will then be instantly mapped
(Please note that if the selected preset does not match the bone structure of the character, then you will
only get a partial-mapping or no mapping result).
|
Note:
|
You may click the Clear button to break all the mapping connections.
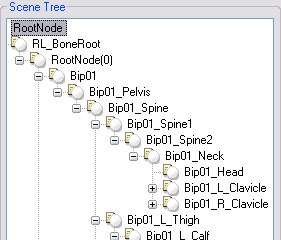
When you wish to apply presets for the characters from 3ds Max, then please check
the node names in the scene root. If the names contain underlines, then use the
3ds Max Biped_Type2 preset; otherwise use the 3ds Max Biped preset.
|
|
|
One or more node names with underlines.
|
Apply the 3ds Max Biped_Type2 preset.
|

|
|
|
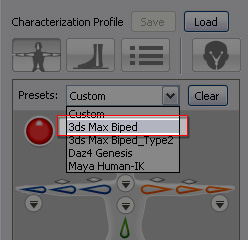
No node name contains underlines.
|
Apply the 3ds Max Biped preset.
|
Please also refer to the
Fine-Tuning the Pose of the Converted Character for more information.
|