Instead of using the Content Manager or Import methods to load your assets, you can drag and drop them into the iClone Preview Window from your system explorer.
This way you can store all your desired files in a single folder and use the Drag-and-Drop feature to quickly load them into iClone.
If you are using a dual-monitor environment, you can have multiple explorers displaying your assets on one monitor and then drag the assets into iClone running on the other monitor to increase your production efficiency.
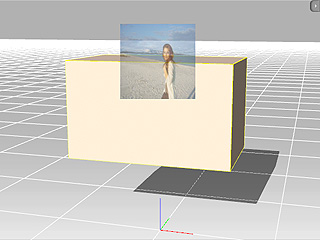
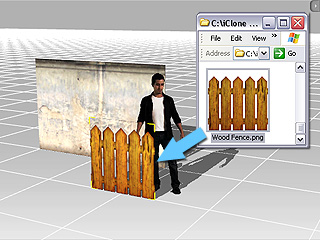
If you drag and drop an image or video onto the space of the project, it will be set as 2D background.
Drag and drop an image or video onto an object and it will be mapped to the Diffuse channel of the object.
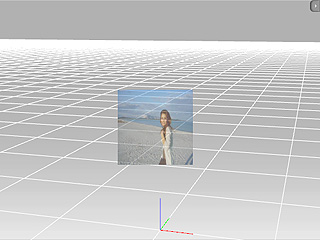
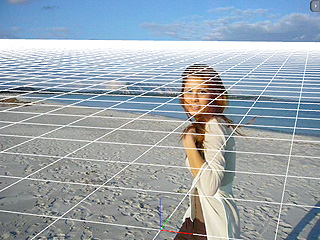
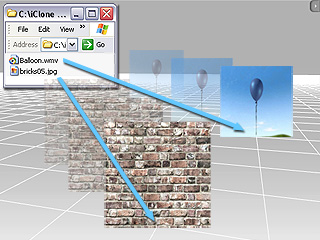
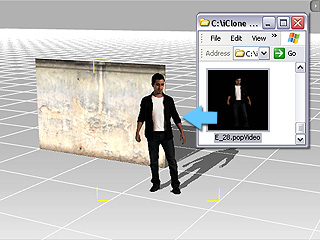
If you drag and drop an image or video while holding the Ctrl key, a simple board that is mapped with the image or video will be generated. And it works great with popVideo as well.

If you drag and drop a PNG image that contains alpha channel data, iClone will automatically take care of the masking for you.
You can modify the transformation data of the board to increase its size, width, depth, etc.
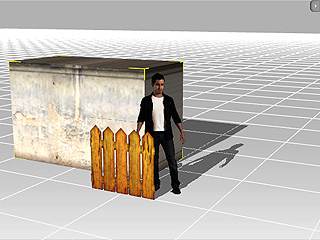
The board will snap to the grid differently depending on your viewing angle to the world axis.
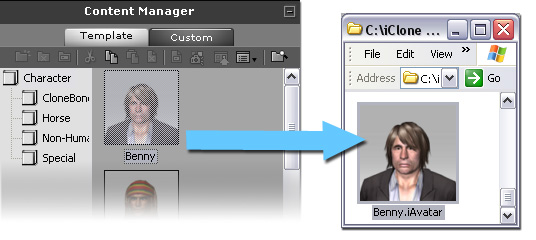
Not only can you drag and drop assets into iClone but also the other way round. Assets can be dragged from the iClone Content Manager to any target folder for better management.
When you drag and drop a media files with right mouse button, you are prompted with a menu to select the desired action for how the media is applied.
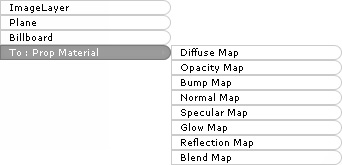
Image or Video: If you want to apply an image or video to a specific channel, please select the To: XXX entry, where the XXX is the material name of the target object, and select the target channel in the submenu.
Video Replacement: If you want to replace the current video mapped to one of the seven channels, please select the Replace Video entry and select the target channel in the submenu.

You can drag any object with meshes such as Actors, Props, Accessories, Terrain, Sky... etc. into iClone to load it at the location you drop it.
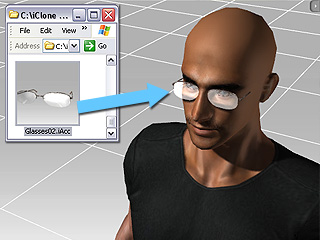
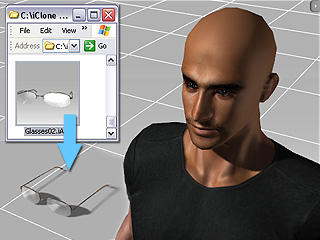
If you drag and drop an accessory file (.iAcc) on an actor, it will follow the accessory's conventional behavior; if dropped on the floor, it will become a prop.
|
|
|
Drag and Drop on the Actor |
Drag and Drop on the Floor |
Non-mesh objects (Particles, Grass, Material...) and Media (Images, Videos, Audios...) can also be applied into iClone by using the drag-and-drop method.
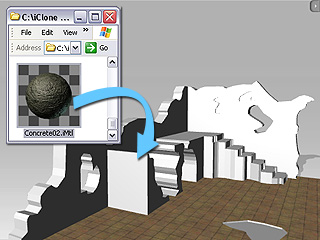
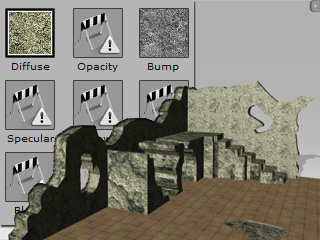
Drag and drop a material file (.iMtl) to any dragable object (with mesh, trees excluded)and the images in the seven channels will be replaced with the ones saved in the material file.
|
|
|
|
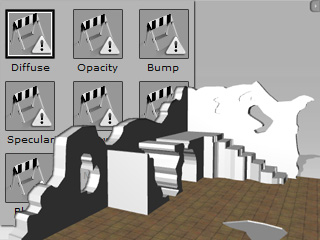
Before Drag and Drop .iMtl file onto the prop |
Drag and Drop .iMtl file to the target face |
Result |
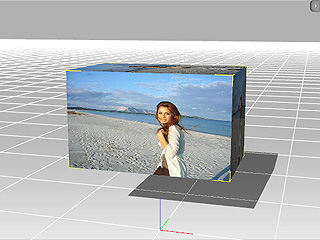
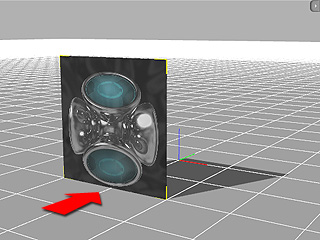
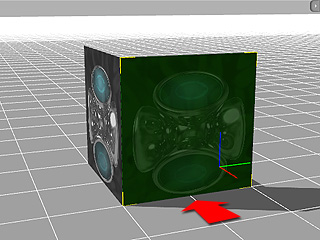
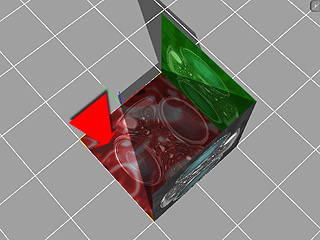
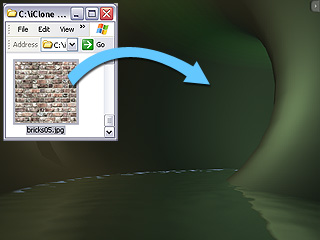
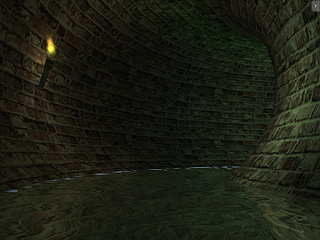
By dragging an image or video and dropping on any dragable object (with mesh, trees excluded) or sky, you can replace their original image in the Diffuse channel.
Image formats: JPG, BMP, GIF, PNG and HDR.
Video formats: AVI, WMV, RM, RMVB, MPEG, ASF, MOV, FLV, iWidget and any video that can be played on your system.
|
|
|
Drag and Drop Image or Video |
Result |
When you drag and drop an audio file (.wav, .mp3) into the preview window, the file will be imported and set as the background music of the project.
In general, any asset file with an extension that starts with "i" can be dragged and dropped into the preview window.
|
Navigation Pane Tabs |
Sub Tool |
Ext. File Name |
Sub Tool |
Ext. File Name |
Sub Tool |
Ext. File Name |
|
Project |
Open Project |
.iProject |
|
|
|
|
|
Stage |
Image Layer |
.iImageLayer |
3D Scene |
.iScene |
Atmosphere |
.iAtm |
|
Fog |
.iFog |
Camera |
.iCam |
Light |
.iLight |
|
|
Set |
Props |
.iProp |
Tree |
.iTree |
Grass |
.iGrass |
|
Particle |
.iParticle |
Terrain |
.iTerrain |
Sky |
.iSky |
|
|
Music |
.wav, .mp3 |
|
|
|
|
|
|
Actor |
Avatar |
.iAvatar |
Hair |
.iHair |
Upper Body |
.iUpper |
|
Lower Body |
.iLower |
Gloves |
.iGlove |
Shoes |
.iShoe |
|
|
Accessories |
.iAcc |
Skin |
.iSkin |
|
|
|
|
Head |
Faces |
.iFace |
Eyes |
.iEye |
Mouth |
.iOral |
|
Animation |
Motion |
.iMotion |
Hands |
.iHand |
Path |
.iPath |
|
* Please note that asset files from before version 3 (.VNS files) can only be imported using the drag and drop method by switching to their correspondent tabs first - i.e. Set > Props for props, Actor > Avatar for characters, etc. |
||||||