-
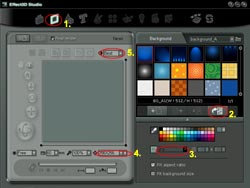
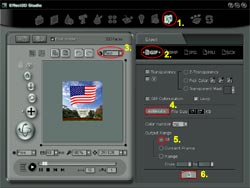
In the Main Navigation Bar, click the
Select Object button to step to the object page.
-
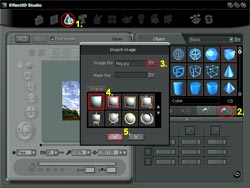
Click the Import Image button,
then the import image window will open.
-
Click the Folder icon to the
right of the image file text box, locate the flag.jpg
file and click OK.
-
Select the borderless frame from the
available photo frame types.
-
Click the OK button to import
your selection.
-
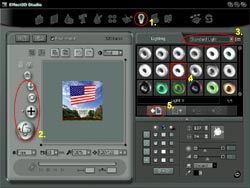
In the Main Navigation Bar, click the
Lighting Effect button to step to the lighting
page.
-
Use the Zoom, Roll, Move,
and Rotate controls to adjust the object position.
-
Select the Standard light category
from the Lighting Category pull down menu.
-
Click the light 9 thumbnail to
highlight the light setting.
-
Press the Apply button to update
the changes to your project.

 In this tutorial, you will learn: