Customizing the Dummies
The items in the Physics Toolbox are dummies with Physics Control Tiles Panels,
for their purpose, the appearance is rather basic.
In order to improve the look of the dummies, you may attach common props to the dummies so that they
act the same way as the dummies, or even govern a custom structure composed of dynamic rigid bodies to animate via the physics control
panel.
Attaching Common Props to Dummy
-
Apply a Motor B.

-
Apply a common prop (not a physics object).

-
Transform the prop to exactly align to the position of the motor.

-
Right click on the prop and select the Attach command in the right-click menu. Pick the motor as the parent.

-
Press the Operate button on the control of the Motor B. The water wheel will be triggered to
rotate instantly.
You may optionally press Control + D to hide the dummy in the 3D viewer so that when the dummy starts
to animate, the result is that the prop attached to the dummy animates.
Dummy Governing Props by Picking Feature
In each physics control panel, you may find Pick feature presented in a button form. You can then
utilize this button to pick desired parts of a custom structure so that these parts can be governed with a single
tile panel.
-
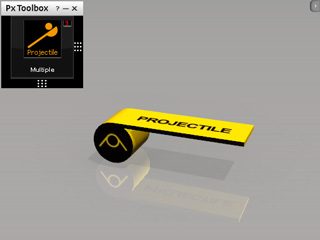
Apply the Projectile dummy from the L1 Force category of the Physics Toolbox.
-
Apply props to compose a custom structure. In this case, it is a spider structure with isolated body and legs.

-
Set the body and the legs as Dynamic rigid bodies via the Object Physics Setting panel (Shortcut: Shift + F9).
-
Make sure the rotating axis of the legs are identical to the projectile dummy.
-
Open the advanced panel of the Projectile Control.
-
Click the Pick button and then pick a leg. Repeat this step until all the legs are picked. Alternatively, you may press and hold the
Ctrl key and click all the legs one after the other. This step assign
all the legs with the same spring constraints as the one of the projectile dummy, which ensures the
legs are all under the governance of the control panel.

-
After the previous step, these legs are still isolated from the body. Please select
all the legs and open the Constraint Setting panel (Shortcut: Shift + F10).
-
Click the Pick Target button and click on the body prop to constrained the legs to the body.

-
Click the Shoot button on the control panel and the spider turns out to be a jumping spider.


