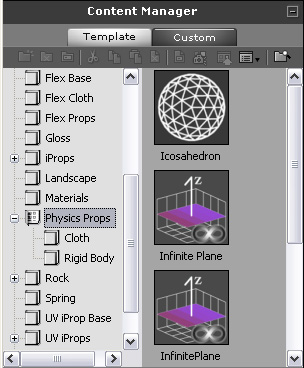
Using Soft Body from the Library (New for 5)
Go to Set >> Props, in the Content Manager. There you will find the Physics Props and the
Cloth folder under it in the tree view.
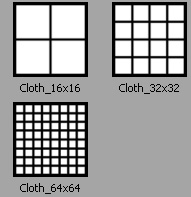
Using Cloth with Various Details
In the Cloth folder you will find cloth templates with different dimensions which are convenient for creating cloths with various details.
The higher the number, the more details the cloth shows.

|
|
|
Cloth_16x16
|
Cloth_64x64
Softer with more details.
|
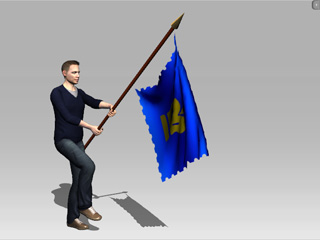
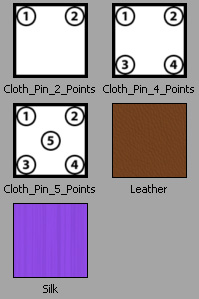
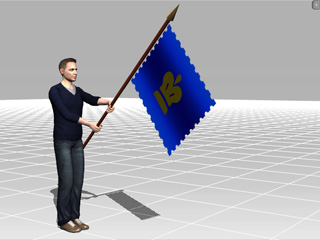
Using Hanging Cloths
The other templates in the same folder are all pinned cloths with or without
numbers. These are useful for creating webs, flags or hanging clothes.
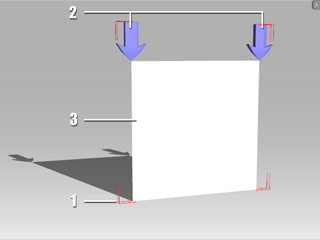
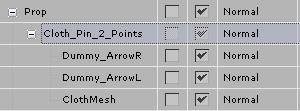
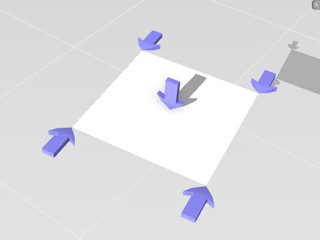
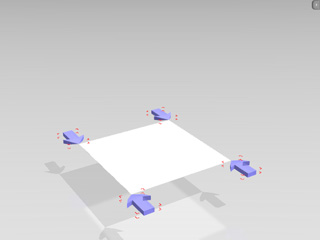
Structure of Pinned Cloths
The structure of the pinned cloth is shown in the illustration below:
|
|
1.
|
-
The entire group is for primary transformations such as locating, rotating or resizing.
-
If you need to transform clothes, then transform the entire group. DO NOT transform any of the sub nodes individually.
-
You may attach the entire group to any other objects in the scene.
|
|
2.
|
-
The dummies indicate the pinned points of the cloth.
-
You may set transform keys (manually, puppeteering) to the dummies in order to trigger turbulence in the clothes.
-
To show/hide the dummies, use Ctrl + D to toggle.
|
|
3.
|
-
True soft body.
-
The soft body settings (Shortcut: Shift + F9) shall be applied to this sub node.
|
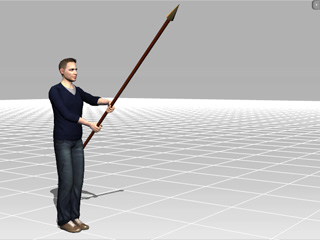
Attaching Cloth to another Object
-
Prepare an object (moving or not moving).
-
Apply a cloth from the library.
-
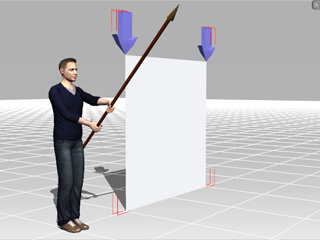
Select the entire cloth group and transform it so that the pinned points are aligned to the connecting points on the object.
-
Right-click on the cloth group and attach the entire group to the target object.
-
Apply texture settings to the true soft body of the group.
-
Play back to view results. If you are not satisfied with the results, then select the true soft body and adjust the physics settings (Shortcut: Shift + F9).
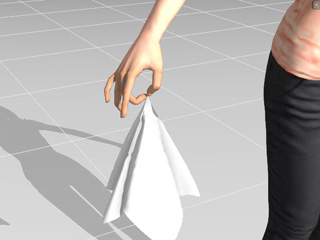
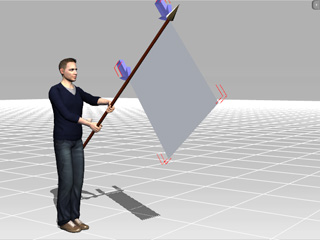
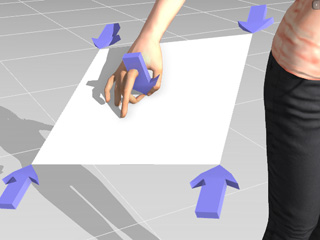
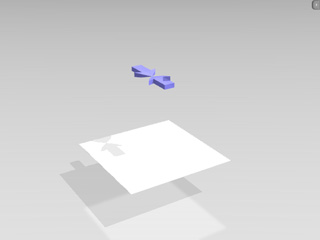
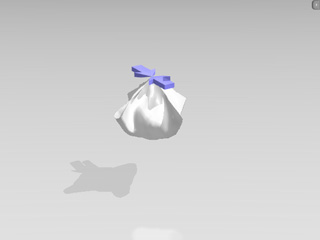
Remove Dummies
The dummies of the hanging clothes can be removed. One cloth template can have more
styles, each for different purposes.
-
Apply a cloth template with five dummies.
-
Adjust the transform data of the cloth and attach the entire group to the character's hand.
-
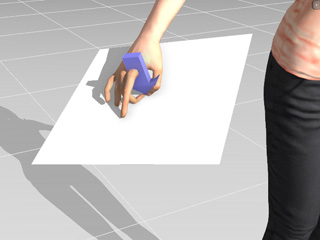
Remove the four dummies from the corners. Hide the left dummy (Shortcut: Ctrl + D).
-
Simulate and the cloth now turns into a handkerchief with four corners dropping naturally.
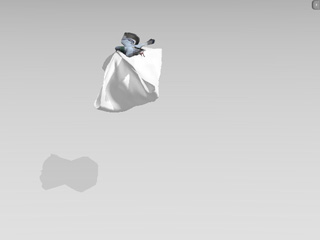
Setting Keys to Cloth Dummies
In the last section, you changed the entire cloth group to change the RTS data (Rotate, Transform and Scale). However, you may set keys to
dummies that belong to the group in order to produce more subtle wrinkles in the soft body. Please note that keys can be set one at a time by puppeteering.
-
Apply one cloth template with numbers on it from the library.

-
Select one or more dummies for setting keys. If you can not see any dummy, use Ctrl + D to show/hide the dummy.
-
Go to another time frame and set transform keys to the selected dummies. You may also use the Prop Puppet panel to setting series of keys.
-
Turn on the Soft Body Simulation and play from the first frame to simulate the soft body animation.
-
Hide the dummies.
-
Utilize the Attach method as described in the last section, and set animations to the target object. The entire cloth group will move along with it.