CloneCloth Tutorial

In this section, you will see some examples on how to create customized outfits.

You may generate limitless character CloneCloth fashions guided by your imagination.


  1. Photograph your shirt and pants first.

  2. In the image editing software, paste your shirt and pants onto the diffuse image texture of your character. Update the texture in iClone.

Upper body

Lower body

  1. Now, edit the opacity to cut off the part in black as if you were cutting a real cloth.

  1. Save the result of each image and simply click the Update button and you will see the result of the outfit.

  2. Click the Launch button of the Bump map setting, and draw wrinkles or the brand's tags on the outfit.

  1. Use the glow map as seen in the following image, the brand on your cloth glows and attracts your audience's attention more!

  1. Optionally, if you want to create a plastic wrapping or latex effect, you may use the Reflect map as well.

Tips:

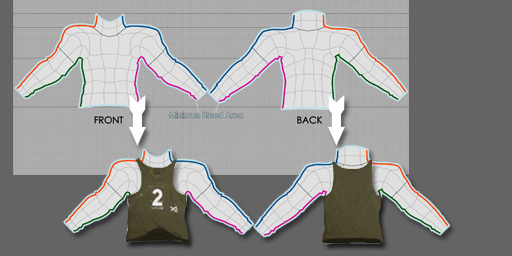
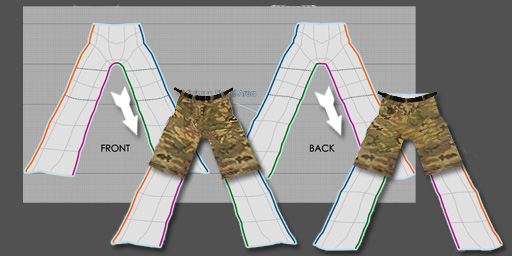
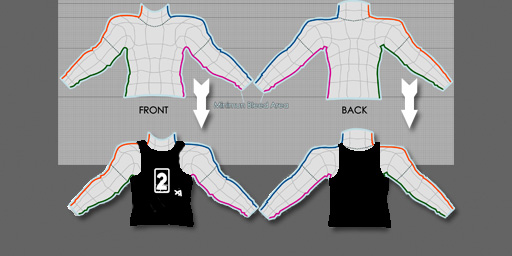
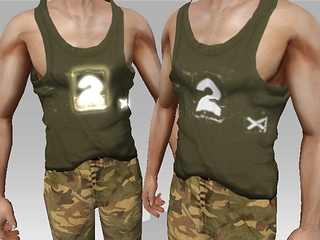
  • The Minimum Bleed Area in the UV reference image indicates you to fully overlap your cloth texture paint or image. This can prevent image-distortion at the side seam of the outfit.

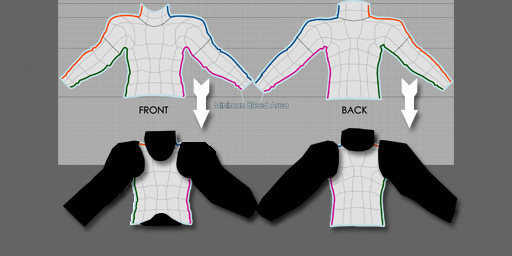
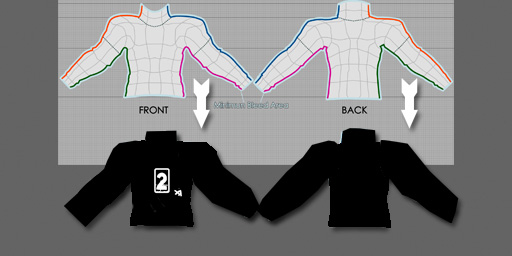
  • The edges of the same color contour lines will later be stitched together.

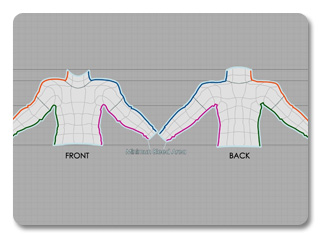
  • Edges with color contour lines
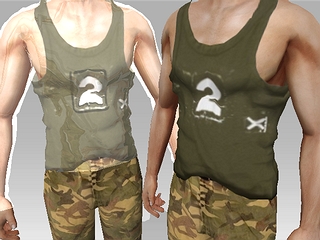
    Stitched result

  • Please refer to the Multiple Channel Texture Mapping section for more details.