Creating Custom Height Map Terrain (New for 5.5)
In iClone, you are free to create your own terrain by simply replacing the height map image file.
The benefit of this method is that you do not need to increase the polygons of the terrain, and
the landforms can be defined by a height map image, which does not consume
too much system resources.
Creating Custom Height Map Terrain
-
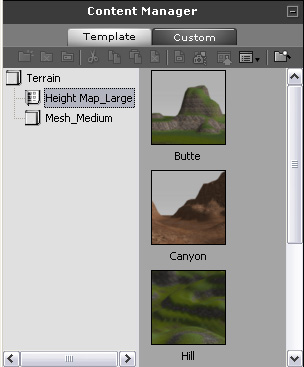
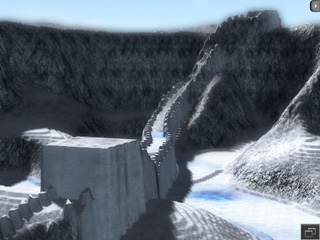
Load a Height Map Terrain template from the Set >>
Terrain >> Content Manager >> Height Map Terrain
library as a base.
-
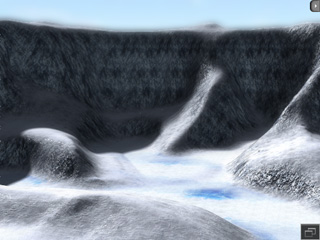
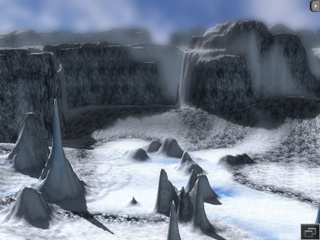
In this case, the Snow Mountain is applied.
-
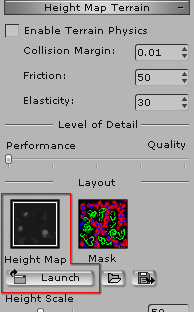
In the Modify panel, scroll to the Height Map Terrain section.
-
Select the Height Map thumbnail and click the Launch button to
open the height map image in your favorite image editor.
-
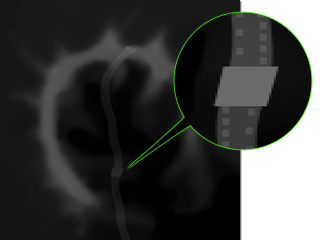
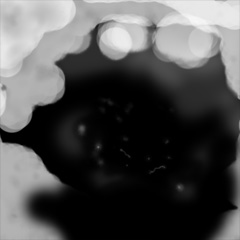
Edit the grayscale image.

|
|
|
The original height map image.
White: Peaks
Black: Valley
|
The height map image after being edited.
|
-
Save the image and go back to iClone, the terrain will be updated automatically.
|
Note:
|
-
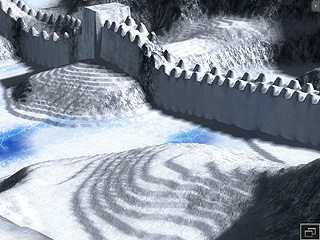
Because the size of the terrain is 25600 x
25600 (cm square), while the size of the height map
image is only 513 x 513 (pixel square), each pixel
in the image thus represents a 50 x 50 (cm square)
area in iClone, which causes the creases
situation.
-
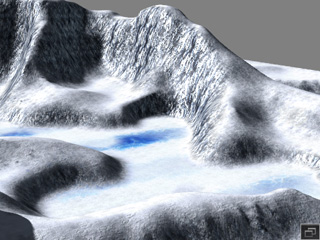
In order to solve the crease issue,
increase the smooth value between 1 to 3. However, the
sharp edges in this example will look melted or
weathered.
|
-
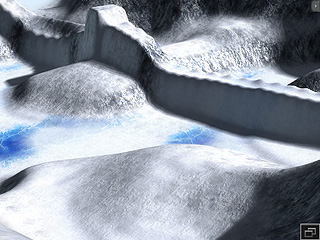
You may also load a prepared image file in grayscale format (if the loaded file is a
colorful one, then iClone will automatically convert it to
grayscale format first) to create a new terrain with different peaks and valleys.
|
|
|
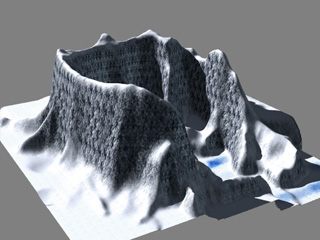
The landforms is changed in accordance with the
definition of the loaded image.
|
Further Adjustments for Custom Terrain
After the height image map is edited or loaded for generating a custom terrain, you are allowed to
adjust overall appearance of the landforms in iClone.
-
Height Scale: This setting scales the overall height of the land
contours. The higher the values is,
the taller the land, the tablelands and the peaks are.

|
|
|
Height Scale: 50.
|
Height Scale: 120.
|
|
Note:
|
-
Please note that after you create a terrain via
Earth Sculptor with height range from 0 to 100, the
range mapped in iClone will be from 0 to 20.
|
-
Height Offset: This setting moves the entire terrain up or down (unit: centimeter).
|
|

|
|
Height Offset: 0.
|
Height Offset: 5000.
|
You may use this setting to rectify the height of the terrain from Earth Sculptor
because terrain of this kind is not always built based on the horizon but a tableland above
or beneath the horizon.

|
|
|
|
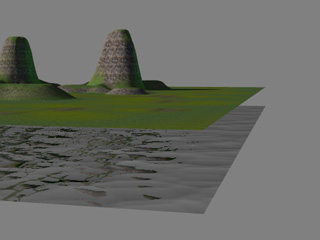
Terrain from Earth Sculptor
(offsets the horizon about 1260 m)
|
Water applied and the result is awkward.
|
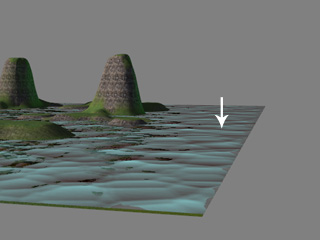
Compensate the offset by using the
Height Offset parameter.
|
-
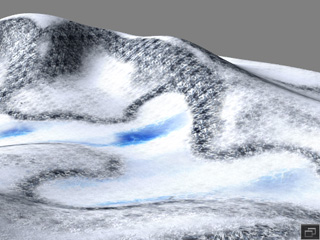
Smooth: This setting eases and evens up the high and low points of
the landforms. It is useful when your load a height image map with high contrast, which
causes the terrain look over-dramatic or when you find a crease issue as described in the
previous section.
|
|
|
Smooth: 0.
|
Smooth: 25.
|