Exporting Face-body Animated iClone Character to 3D Tools
This pipeline is a basic one for understanding the workflow of exporting an
iClone character with body motions
and facial animations to other 3D tools, such as Maya, 3DS Max or Unity.
Step 1: Create Character and Motions in iClone
-
Prepare a character in iClone.
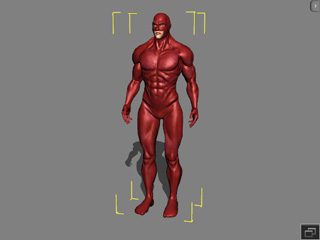
-
Apply body motion by applying templates from the Motion libraries or by using the
Body Motion tools in the Animation >> Motion >> Modify panel.
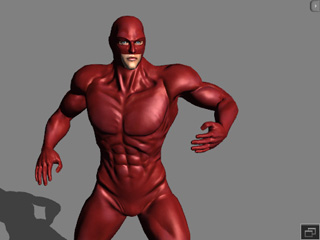
-
Apply a voice to the character.
-
Add facial expressions by applying templates from the Facial Animation libraries
or by using the Facial Animation tools in the
Animation >> Facial Animation >> Modify panel.
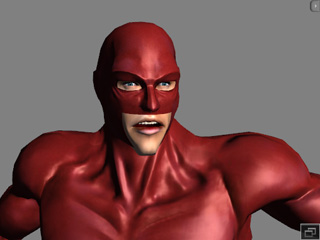
-
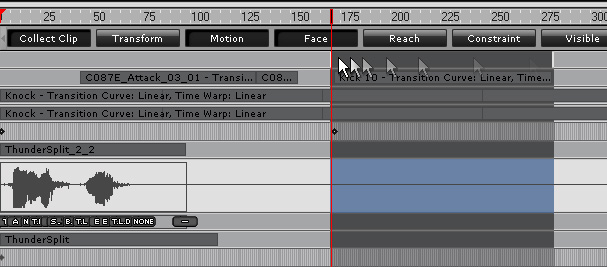
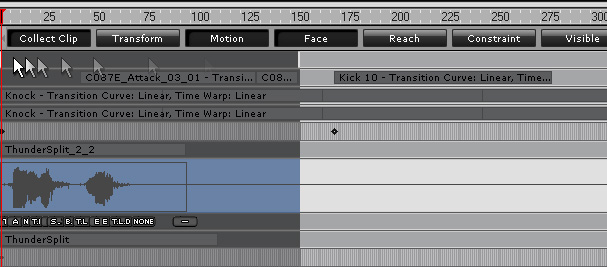
Open the Timeline and you will see the character's motion and expressions in
individual tracks (in this case, the character has two body motions and one voice
with expression).

Step 2: Export Character and Motions to 3DXchange
-
Select the character and switch to the Actor >> Avatar page.
-
Click the Edit in 3DXChange button in the Modify panel.
The character will be sent to 3DXchange.
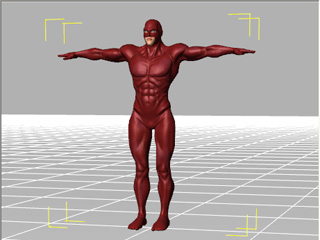
-
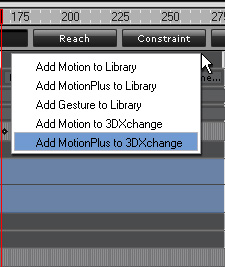
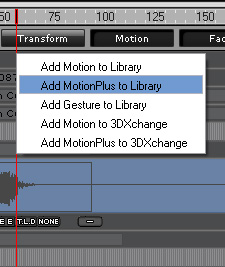
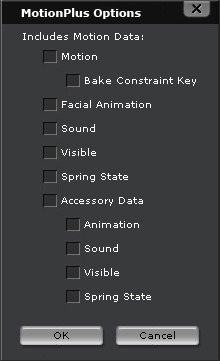
Go back to iClone. Export body motions and facial animations into
MotionPlus (*.iMotionPlus) format for conversion in 3DXchange via one of the following methods:
Step 3: Export Body Motions and Facial Expressions as FBX
-
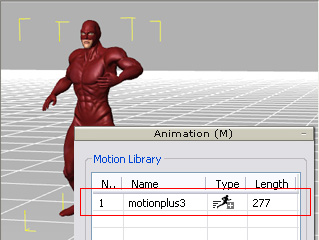
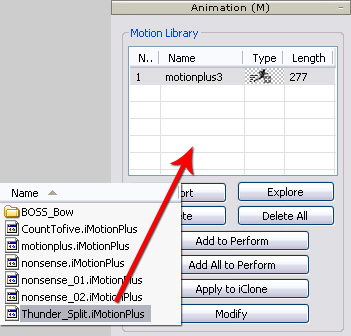
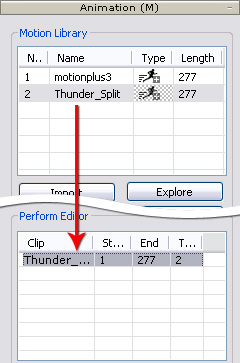
Go to 3DXchange. Add the desired clips from the Motion Library to the Perform Editor.
-
Export the character along with the motions as FBX files (version
2012).
-
Load the exported FBX files into your favorite 3D tools. Please refer to the
What is MotionPlus section for more information
about the relationships between MotionPlus and FBX formats and how to
adjust the expression and motion data in the 3D tools.


