The Motion Layer track is a very important track for fine-tuning an actor's motion. You may generate simple Key Frame Animation or add Animation Layer to an existing animation clip. Before explaining these two subjects, you will have to know the data that is stored in a single key.
Each key in this track contains two types of data: The Body Pose and the Absolute Bone. The Body Pose depicts the XYZ offsets for each joint of the body. The Absolute Bone, however, stores the relative/absolute status for each bone. For more information about Absolute/Relative, please see Absolute and Relative Bone.
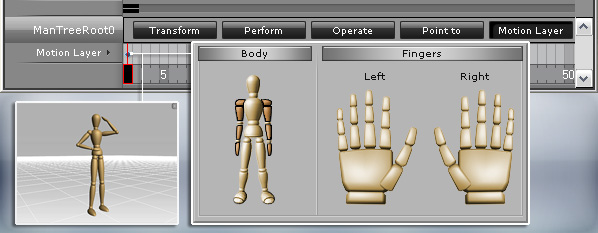
A single key stores the body pose and the absolute/relative status of each bone
To fully understand Key Frame Animation we need to remove all the animation clips in the Move, Perform and Operate tracks. Please double click on the title of these three tracks on the timeline and click the Delete key. Follow the steps below to generate Key Frame Animation.
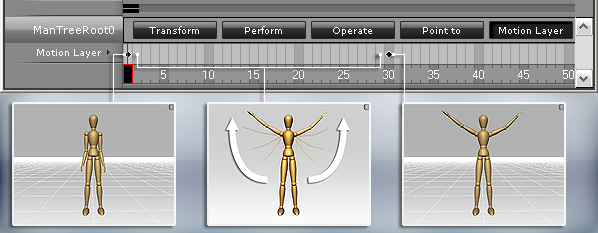
Go to the desired frame for creating the first motion layer key with IK / FK methods.
In the Edit Motion Layer window, switch to Set Absolute Bone mode. Pick the bone that you want to set as absolute. (Non-selected bones are set relative by default)
Go to another desired frame to add a key.
Play the project to see the result. The transition effect is generated automatically between these two keys.
You may then create your own motion for the actors key by key.
|
Note: |
|
Please note that the transition effect between two adjacent keys can be different for the relative/absolute status of them. Read Absolute and Relative Bone for more information about absolute/relative status. |
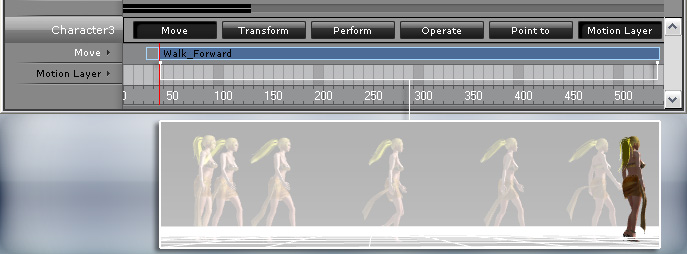
The other powerful feature of the Motion Layer is to fine-tune the motion clips on the Move, Perform, or Operate tracks. The keys of the Motion Layer track have the highest priority for the bone offset.
You may first record any motions in the Director Mode and then switch to the Editor Mode.
In the Motion Layer track, add a fine-tuning key in any desired frame. (If you don't set any other key later on this key will affect all following motions)
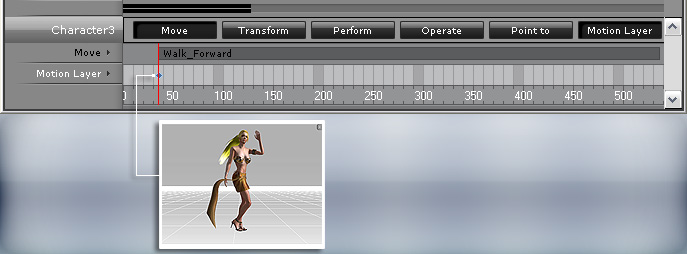
The key rotates the actor's body and raises her left hand.
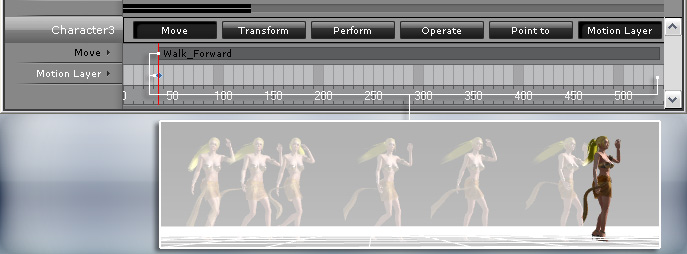
The key will affects the whole motion clip.
You may optionally add more keys in this track to further tune the motion.