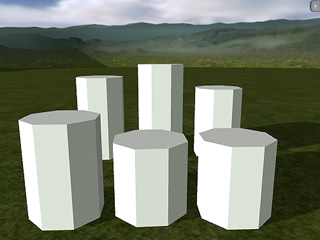
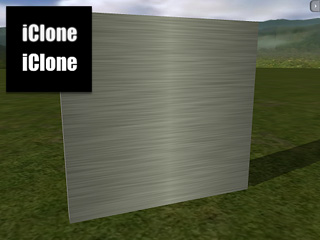
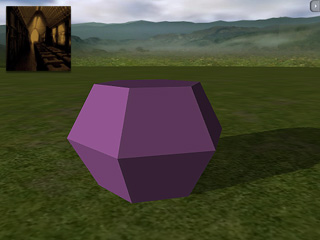
Props with no texture
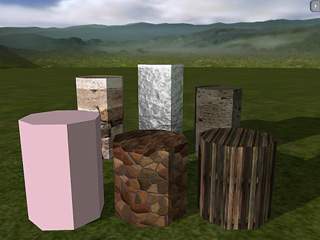
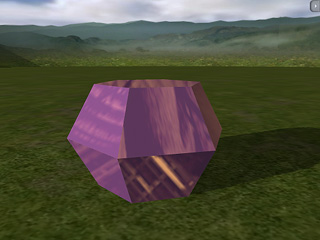
Props with different textures.
(supported by Quick Shader and Pixel Shader)
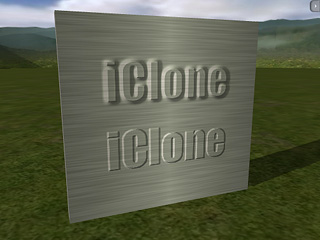
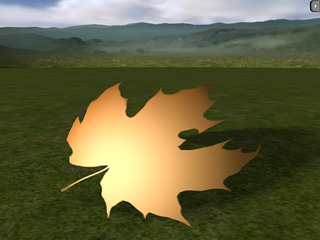
The most frequently used texture mapping method. It wraps the bitmap image onto the 3D geometry surface while displaying its original pixel color.
Any bitmap image, such as scanned images or images captured by digital camera, can be used as diffuse map to represent photo realistic quality.
Users can also use image software to make pre-rendered texture effects such as shadow, bevel, bump, lighting or weathering effects. This approach can effectively simulate real-world 3D effects while greatly saving system resources and rendering time.
|
|
|
|
Props with no texture |
Props with different textures. |
(supported by Quick Shader and Pixel Shader)
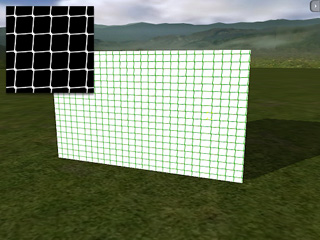
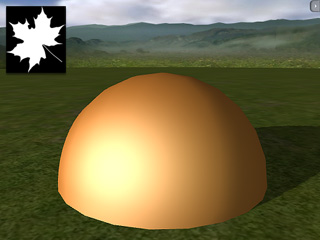
Make transparency and cut-out effects from grayscale images. The black part will get cut out; the white part will be fully displayed; the gray values determine the transparency (alpha) level of the object.
Use bright gray RGB(253,253,253) on the Opacity map to make 2-sided 3D Surface from Plane mesh.
|
|
|
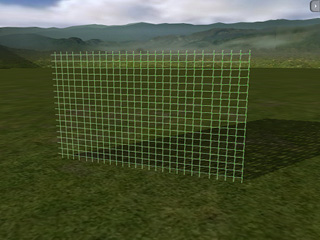
Prop with texture and an image as the mask |
Prop masked out |
(Pixel Shader only)
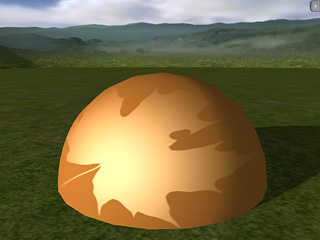
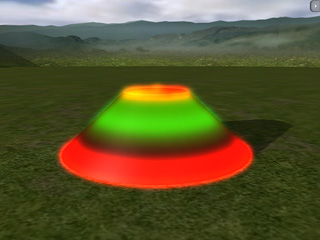
Bump mapping uses the grayscale values of an image map to create variations in the shading of the surface to which the map is applied. It adds details to 3D models without increasing the number of polygons. In iClone, white areas of a bump map are shown as high and black areas are shown as low.
By moving around the light source we can see how the angular light projection changes the bump look. If the light is facing the surface from a straight 90 degrees angle it the bump effects are the least noticeable.
|
|
|
Prop with texture and an image as the bump |
Bump - the edge blur from the bump source |
(Pixel Shader only)
When you click the Import Bump button you will find
 .
Check this box if the map you are loading is a normal map.
.
Check this box if the map you are loading is a normal map.
A Normal map (Pixel shader only) is made from a high polygon model. Its color representation will affect surfaces like a regular bump map while providing higher degrees of detail.
iClone can import normal maps created in ZBrush or 3D Studio Max. By using Normal Maps you can make simple low-poly models appear as highly detailed 3D objects.
If the image you are loading is not a specially designed normal map the result will not be as good.
(Pixel Shader only)
This texture mapping method allows parts of an object to have a Specular effect.
|
|
|
Prop with texture and an Specular image |
Specular map only has effect within the shape |
|
Tip: |
|
|
Using the same image as both Specular and Opacity
maps allows you to create |
(Pixel Shader only)
This texture mapping technique allows users to control the glow shape, color and strength.
Glow maps will blend with your original diffuse maps, so the lighter the diffuse color (or glow color), the stronger the glow effect.
A bright diffuse map in combination with a bright glow map might cause overexposure.

|
|
|
Prop with texture and a Glow image |
Diffuse and Glow maps blended together |
|
Note: |
|
Tips to create a subtle and effective glow effect:
|
(Pixel Shader only)
Reflection map is also referred to as environment map. The image map is projected onto a 3D surface to represent a reflection of the environment.
|
|
|
Prop with texture and a Reflection image |
Reflection image projected onto the object |
|
Tips: To create good Reflective effects you should start by using an object that has high specular highlight and gloss values. Then apply black or darker images as the Diffuse map to help making the surface work like a mirror which can fully reflect the reflective map content. If the diffuse map itself is too bright the front light plus reflective setting could cause the result to be overexposed.
If you place a reflective object on a simple 2D background you can use high contrast scenery images to mimic the reflective look by importing them as reflection map. Sample: Combining Several Texture Effects - Semi-transparent and reflective surface 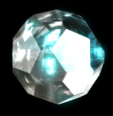
|