Using Dummy Bones for Prop Morphing Animations (New for 5.4 and for Pro only)
Whether a statue bust or an abstract object, props can all be characterized in iClone in version 5.4.
With this update, you can quickly create cool morph animations by simply using 3D modeling or sculpting tools such as ZBrush,
3D Coat or Blender; to generate 3D models that share the same topology as the morph targets.
Basic Usage - Morphing Meshes Only
In this pipeline, the target prop contains mesh only. You can use the method described below
to create morphing animations of the prop.
Preparation:
Before starting this procedure, you need to prepare some objects:
-
iClone version 5.4 or above plus iClone 3DXchange version 5.4 or above.
-
An iProp (named Dummy Bone.iProp) with a bone structure. You may
purchase the character pack from the official site to
get the dummy bone iProp.
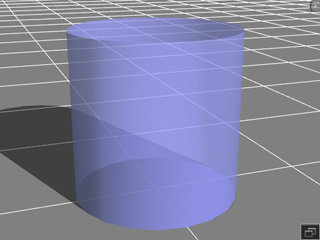
This cylinder is actually a prop with bone structure.

-
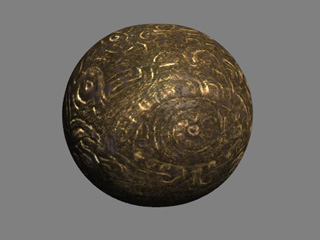
A custom prop (mesh only, in iProp format) that is
either created in iClone or via external 3D tools and
have been converted
as an iProp via iClone 3DXchange.
-
One or more blend shapes (in OBJ or FBX formats) that are created and based on the
prop in the previous point with
external 3D tools.

Steps
-
In iClone, apply the Dummy Bone.iProp and the base prop to the origin.
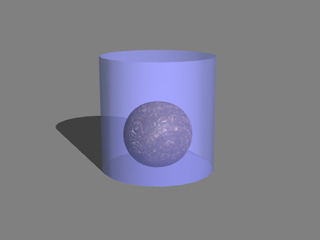
Please note that you may set the Opacity of the cylinder to 0 so that it becomes
invisible.

-
Select the base prop you intend to morph and attach it to the Dummy Bone.iProp.

-
Merge them into one prop. Add the new prop to the Set >> Prop >> Content Manager >> Custom Library.

-
Drag the saved prop into 3DXchange.
-
Load the blend shapes (in OBJ or FBX formats) into the
Morph List.

-
Characterize the entire object (you may use the Maya Human IK preset to quickly mapping the bones).
-
Access the Expression Editor, in the Custom tab,
set the thumbnails with different settings of the
morphing sliders.

-
Close the Expression Editor if you are satisfied with the results for the thumbnails.
-
Convert the object into an iClone Non-Standard Character.
-
In iClone, choose the preset (with the data you input in the previous step)
in the Full Face Control after you select the 3DX_Custom from
the Face Profile.

-
Puppet to preview or record the morphing animation.
Advanced Usage - Morphing Meshes and Bones
If the target prop contains a bone structure and you intend to use it for a specific purpose (such
as controlling the bones or applying spring effects), then
please follow the steps below:
Preparation:
Before starting this procedure, you need to prepare some objects, and they are:
-
iClone version 5.4 or above plus iClone 3DXchange version 5.4 or above.
-
An iProp (named Dummy Bone.iProp) with a bone structure. You may
purchase the Character Pack from the official site to
get the dummy bone iProp.

This cylinder is actually a prop with a bone structure.

-
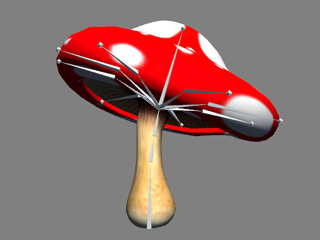
A custom prop (contains mesh and bone structure, in iProp format) that is
either created in iClone or created by external 3D tools and
have been converted
as an iProp via iClone 3DXchange.
-
One or more morphing meshes (in OBJ or FBX formats) that are created and based on the
prop in the previous point with
external 3D tools.

Steps
-
In iClone, apply the Dummy Bone.iProp and the base prop to the origin.
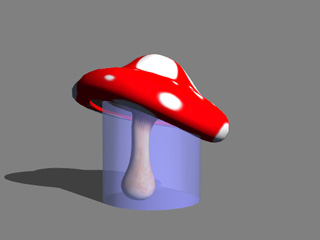
Please note that you may set the Opacity of the cylinder to 0 so that it becomes
invisible.

-
Select the base prop you intend to morph and attach it to the Dummy Bone.iProp.

-
In this example, the prop's bones are going to be used later. Click the "..." button besides the attached
target drop down list and select the Head node of the dummy bone.

-
Merge them into one prop. Add the new prop to the Set >> Prop >> Content Manager >> Custom Library.

-
Drag the saved prop into 3DXchange.
-
Load the blend shapes (in OBJ or FBX formats) into the
Morph List.

-
Characterize the entire object (you may use the Maya Human IK preset to quickly map the bones) and activate
the Active box.
-
In the Face/Extend Mapping page, set the bones that control the pileus (the cap) to
Face Extend bones.

|
|
Since the entire prop is attached to the head node of the dummy bone in the previous step, the bones that
are not set as extended will become the part of the facial bones (green).
|
-
Access the Expression Editor, in the Head tab, clear all settings of the thumbnails.
-
In the Custom tab,
set the values of each thumbnail by using the blend shape sliders.
Group 1: Set the size for the object by morphing.
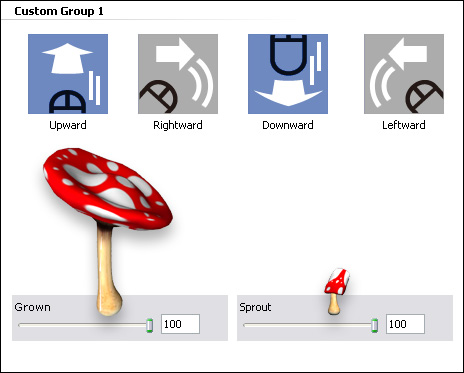
Group 2: Set the directions of the pileus by bones rotating.

-
Close the Expression Editor if you are satisfied with the results for the thumbnails.
-
Open the Spring Editor and
apply spring effects to the bones controlling the pileus.

-
Convert the object into an iClone Non-Standard Character.
-
In iClone, open the Face Puppet panel and choose one of the presets (with data you set in previous step)
in the Full Face Control after you select the 3DX_Custom from
the Face Profile.

-
The first preset controls the size of the entity.
-
The second preset controls the direction of the cap.
-
Select the first preset for morphing the sizes and shapes; select the second preset
for rotating the cap and record the animations.


