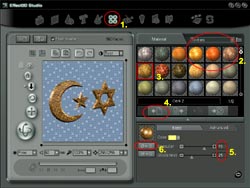
-
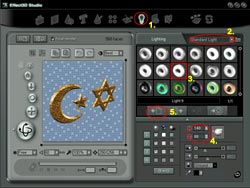
In the Main Navigation Bar, click the
Lighting Effect button to step to the lighting
page.
-
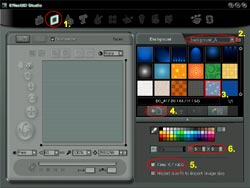
Select the Standard light category
from the Lighting Category pull down menu.
-
Click the light 9 thumbnail to
highlight the light setting.
-
Adjust the position of light #1 to 140
and 88.
-
Press the Apply button to update
the changes to your project.
-
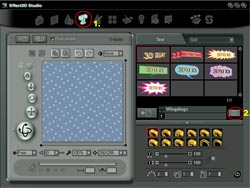
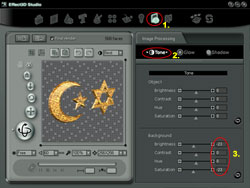
In the Main Navigation Bar, click the
Image Effects button to step to the image processing
page.
-
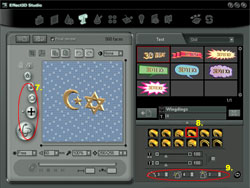
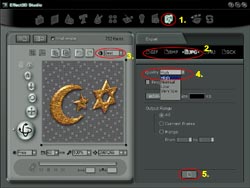
Press the Tone tag.
-
Set the background Brightness
property to a value of -23 and the Saturation
property to a value of -23.
-
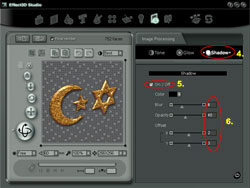
Press the Shadow tag.
-
Check the shadow On/Off button
to apply the drop shadow effect.
-
Set the Blur property value to
4, Opacity to 40, and Offset to X=2 Y=3.

 In this tutorial, you will learn: