|
How to
change an image from color to black & white
You can change a color image into a black & white image by reducing
the value of the saturation parameter, value can be adjusted to
give the desired level of black and white. The object and background
each have a separate saturation value so you can change just the
object, background or both.
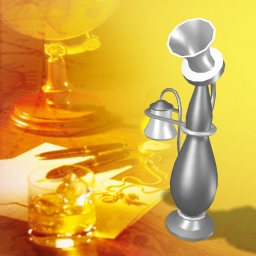
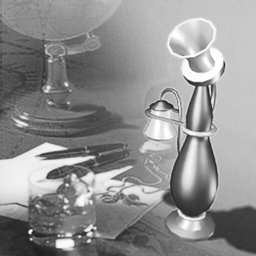
| Black & White Images |
| To change an image from color
to black & white set the saturation value to -100, you can
desaturate the object, background or both object & background |
| Original color object and background |
|
| Desaturate object only |
|
| Desaturate background only |
|
| Desaturate both object & background |
|
How to
create the perfect transparent images
When creating a project that is going to be exported with the transparency
effect. Improve the quality of the image by using a similar background
color as the one you plan to use the finished graphic with. This
is because anti-aliasing will blend the model edge color with the
project background color to give a smooth edge. If you use a different
background color the edge will be noticeably different.
Note: The difference is more noticeable in animated images.
In the example below you can see without the
anti-alias effect the exported image has a rough edge. When using
the anti-alias effect against a white project background the transparent
image has a white edge. When exporting the same transparent image
with a blue project background the edge is blue and becomes unnoticeable
against the blue background image that the transparent image is
added to.
| Transparent
Images |
| When exporting a transparent
image and using the anti-alias effect the edge of the image
is blended with the original project background color |
| No Anti-alias used |
|
|
| Anti-alias used with a white project
background |
|
|
| Anti-alias used with a blue project background |
|
|
How to
use shadow and lighting in a project
When creating a project that is going to be exported with the transparency
effect. Improve the quality of the image by using a similar background
color as the one you plan to use the finished graphic with. This
is because anti-aliasing will blend the model edge color with the
background color to give a smooth edge. If you use a different background
color the edge will be noticeably different, the difference is more
noticeable in animated images.
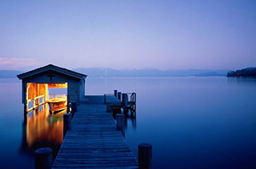
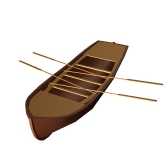
| Using
Lighting & Shadow in a Scene |
| When adding an object to a background
correctly adjusting the lighting conditions can help you to
seamlessly blend |
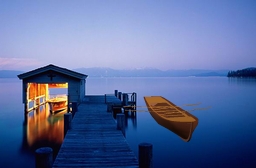
| Background Image |
|
| Object |
|
| Default light setting |
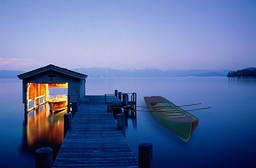
|
| After fine-tuning (position, color, shadow) |
|
How to
increase the visual impact of an image
When creating a project that is going to be exported with the transparency
effect. Improve the quality of the image by using a similar background
color as the one you plan to use the finished graphic with. This
is because anti-aliasing will blend the model edge color with the
background color to give a smooth edge. If you use a different background
color the edge will be noticeably different, the difference is more
noticeable in animated images.
| Increase
visual impact of an image |
| Using a combination of the Image
processing effects you can dramatically increase the visual
impact of your image |
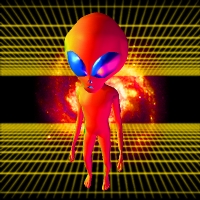
| Original image |
|
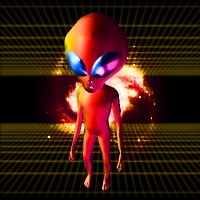
| Increase contrast |
|
| Increase saturation |
|
| Change Hue |
|
| accumulated result |
|
|