-
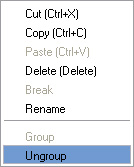
Ungroup by clicking the
 Ungroup button on the timeline tool bar.
-
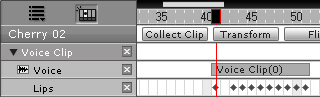
Right-click on the clip and select the Ungroup command from the menu.
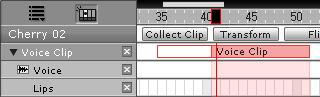
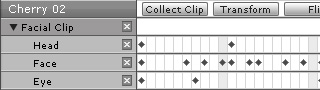
When you set up voice and lip sync keys for a character, or add a lot of Transform and Sprite Switch keys to create an animation for Characters or the Props, then it is a real time-consuming task to move a range of keys from on time duration to another. It also takes a lot of time to manually move these keys one by one.
In the Timeline, you can use the Group or Ungroup features to quickly achieve this.
The data types that support grouping and ungrouping:
Ungroup button on the timeline tool bar.
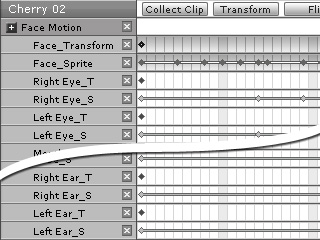
 Motion Key Editor (for characters),
the
Motion Key Editor (for characters),
the  Prop Key Editor (for props), and the
|
|
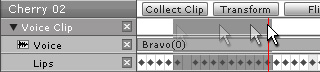
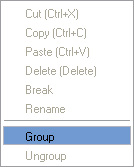
 Group button on the timeline tool bar.