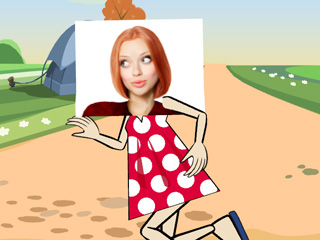
Original head image
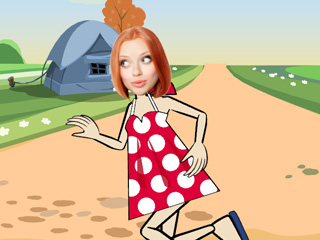
Masked head image
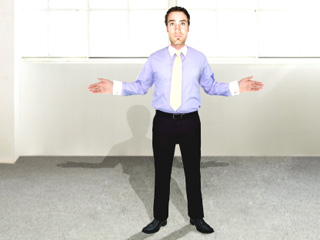
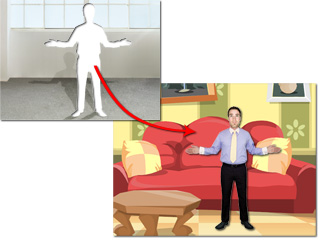
Original body image
Masked body image
The background mask hides all unnecessary areas of the loaded photo. This helps you only the areas you are interested in, such as the character's head or body.
|
|
|
|
Original head image |
Masked head image |
|
|
|
|
Original body image |
Masked body image |
There are two methods to generate a background mask for your image.
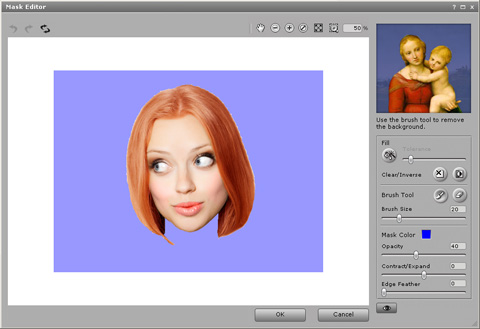
Click the Fill
button and then click on the image to fill with the mask color. You may adjust the Tolerance slider to increase or decrease the background mask over the image target area.
Click the Clear
button to delete the background mask.
Click the Inverse
button to invert the background mask area. The area that was previously defined as the background mask will now be inverted with the non-masked area.
Use the Brush Tools to specify whether you want to increase or decrease the background area. Click the Paint
button (Shortcut: B) if you want to enlarge the background area or simply add more parts to it. Click the Erase
button (Shortcut: B) to erase parts of the background mask.
Adjust the Brush Size slider to increase or decrease the size of the brush tool. Use a thinner brush size when you want to adjust small areas of the background mask. Alternatively, enter a number in the box next to the slider to specify the brush size.
Click Mask Color to specify the color of the background mask from the color palette. The mask color does not actually show up on the model; it is for your reference only.
Move the Opacity slider to specify the opacity of the background mask. The mask opacity does not actually show up on the model; it is for your reference only.
Move the Contract/Expand slider to contract or expand the background mask.
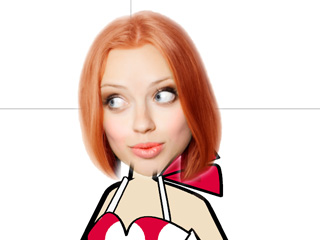
Move the Edge Feather slider to blur the background mask.
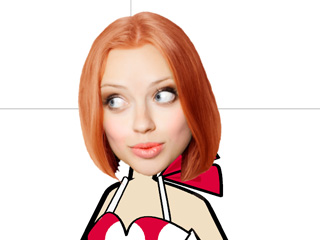
Edge Feather = 0
Edge Feather = 25
Click the Preview button to review results.
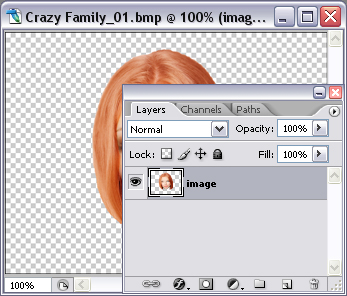
If you wish to perfect your image mask, then you may pre-save your image with a pre-defined alpha channel. This can be done by means of an external image editor. Once you create your mask outside, simply load the image into CrazyTalk Animator. The alpha channel information will automatically be applied as the background mask in the Background Mask Editing panel.
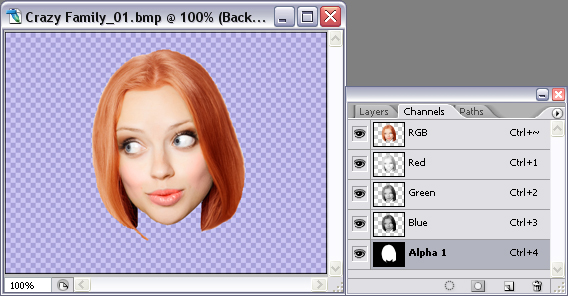
Adding and editing alpha channels in an external image editor (e.g. Photoshop)
Note:
The alpha channel information can be in 32-bit BMP, TGA or PNG format.
If you wish to save the source image as PNG file, then remove the background layer, erase any unnecessary area of the image and save. You do not need to create an alpha channel layer in the Channels panel.