| |
|
|
| |
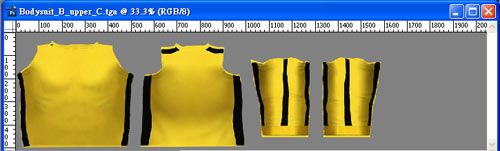
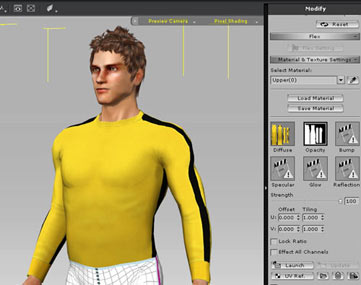
From template map to final design |
|
| |
|
|
| |
|
|
| |
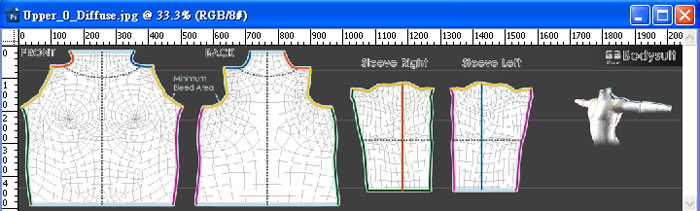
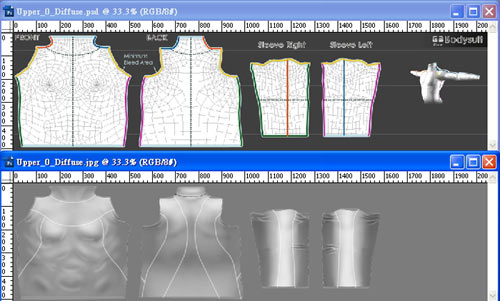
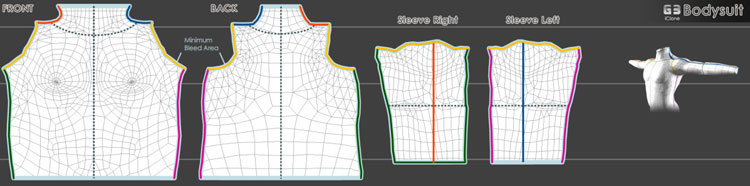
| Outer body garment mesh texture template |
| |
The Minimum Bleed Area in the UV reference image indicates you where to paste and fully overlap your cloth onto it. This can prevent the result from image-distortion at the side seam of the outfit. |
| |
The edges of the same color contour lines will later be sewed together. |
|
|
| |
 |
|
| |
|
|
| |
| |
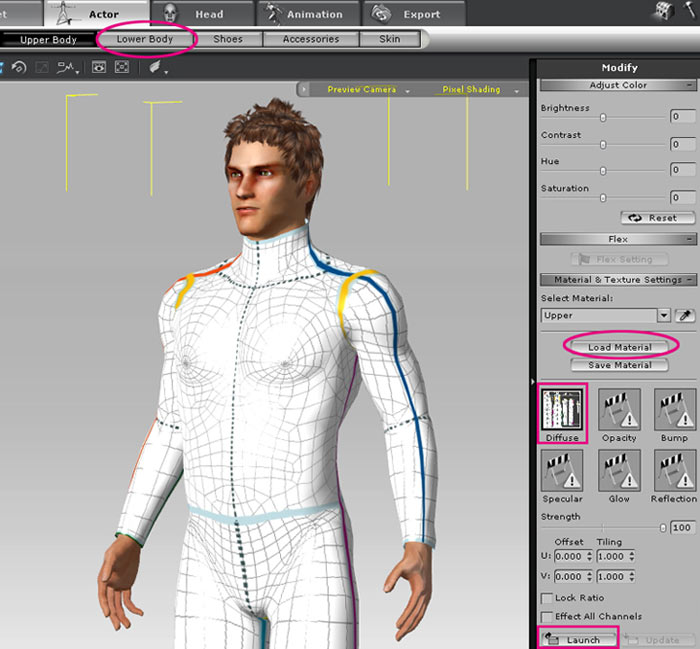
1.How to create an upper clothing? |
|
|
| |
|
|
| |
| |
|
| |
2.To make Material Map for Lower body and Shoes, please follow the procedures above. (The shoes has no Wrinkle texture) |
|
|
| |
|
|
| |
| |
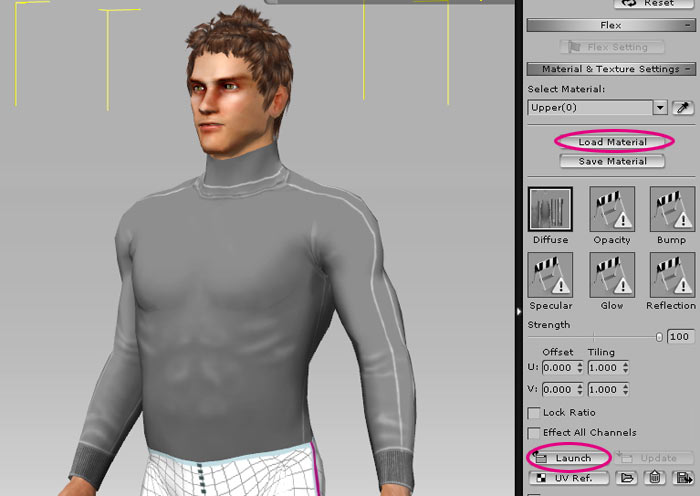
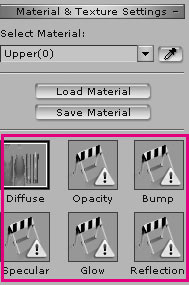
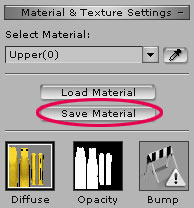
1.Save as a Material file |
|
|
| |
If you want to use the same clothing again, you can simply press the Save Material button to export the material for upper body, so you don´t have to import images for each channel. Instead, you can simply apply the .iMtl file. |
|
| |
|
|
| |
 |
|